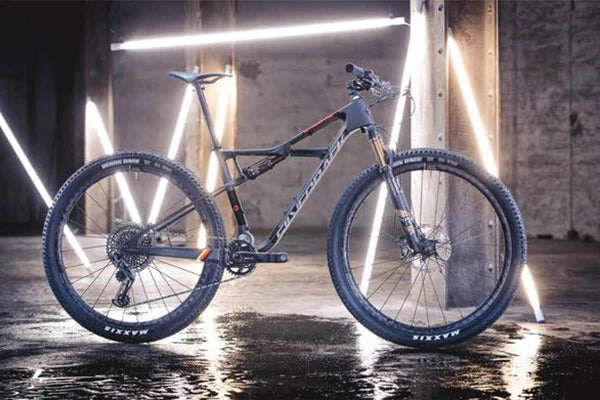
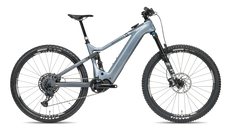
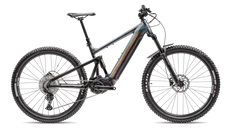
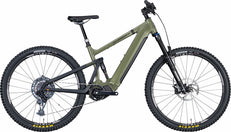
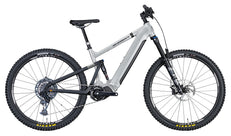
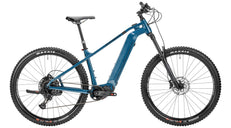
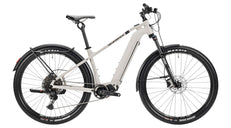
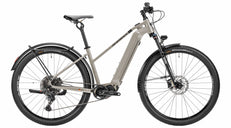
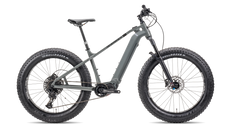
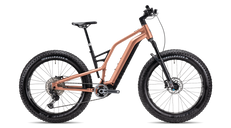
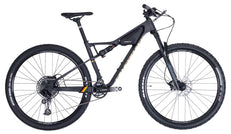
150/145mm Travel
 29" x 2.5" Wheels
 1x12 Speed SRAM AXS
 EP-801 Shimano Motor
 85Nm Torque
 720Wh Battery
 from 20.9kg








What You'll Need Before You Start
Before you touch the wheel, gather your tools. Having everything within reach is what separates a 5-minute fix from a 30-minute ordeal.
Essential Tools
- Tyre levers — Schwalbe Tyre Levers – Set of 3 are our top pick: strong, lightweight, and won't damage alloy or carbon rims
- Replacement inner tube or tubeless sealant — Vittoria PIT STOP Tubeless Sealant for tubeless setups
- Floor pump or mini pump
- Puncture plugs for trail emergencies — Muc-Off Stealth Tubeless Puncture Plugs are a must-have in your saddle bag
Pro tip: Keep a Topeak Ninja Pouch mounted to your frame with spare tube, levers, and plugs — always ready, never forgotten.
Step-by-Step: How to Remove Your Tyre
Step 1 — Release the Air
Fully deflate the tyre. For Presta valves, unscrew the locknut at the top; for Schrader valves, press the centre pin. Get every last bit of air out — a partially inflated tyre is nearly impossible to lever off cleanly.
Step 2 — Unseat the Tyre Bead
Using your Schwalbe tyre levers, hook the first lever under the tyre bead and clip it to a spoke. Insert the second lever 10–15 cm away and slide it around the rim to pop the bead off one side.
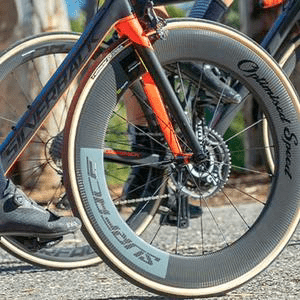
On carbon wheels — like the Zipp 404 NSW Tubeless Wheelset — use plastic levers only to avoid scratching the rim bed.
Step 3 — Pull Out the Inner Tube
Once one side of the bead is free, reach in and pull the tube out, starting at the valve. Ease the valve stem out of the rim hole last.
How to Find the Puncture
Before installing a new tube, find the cause — or you'll flat again immediately.
The Water Test
Inflate the old tube slightly, submerge it section by section in water, and watch for bubbles. Mark the hole with a pen.
Check the Tyre Casing
Run your fingers carefully along the inside of the tyre — feel for embedded glass, flint, or thorns. Hold the tyre up to light and look through the casing for holes.
Check the Rim Tape
Inspect the SUNRINGLE Tubeless Rim Tape or standard rim tape — if it's peeling, shifted, or cracked, spoke holes can pierce tubes repeatedly.
How to Install a New Tube or Tyre
Step 4 — Seat One Bead
Push one side of the tyre fully into the rim channel by hand. This is your base.
Step 5 — Insert the New Tube
Inflate the new tube just enough to give it shape (1–2 psi). Insert the valve stem through the rim hole, then tuck the tube evenly inside the tyre casing all the way around.
Step 6 — Mount the Second Bead
Starting at the valve, push the second tyre bead into the rim by hand, working away from the valve in both directions. Finish at the valve — this is the tightest point.
Pinch flat check: Before inflating, run your thumbs around the tyre and squeeze — confirm the tube isn't trapped between bead and rim anywhere.
Step 7 — Inflate and Inspect
Inflate to your target pressure (check sidewall for range). Spin the wheel and look for wobbles or bulges — a bulge means the bead isn't seated evenly. Deflate, reseat, and re-inflate.
Tubeless Setup — Is It Right for You?
Tubeless tyres eliminate the inner tube entirely, using an airtight rim tape and liquid sealant to self-seal small punctures. It's the standard on all modern Silverback gravel and MTB bikes.
How to Set Up Tubeless
- Install Schwalbe Tubeless Rim Tape – 10m x 32mm — overlap by 10 cm and ensure no air gaps over spoke holes
- Install tubeless-compatible tyres like the Continental Race King 2.2 MTB Tyre (27.5") or Continental Cross King 2.3 (29")
- Seat the bead with a track pump or CO₂ inflator — you need a fast burst of air
- Add 60–90ml of Vittoria PIT STOP Tubeless Sealant via the valve
- Spin and rotate the wheel to coat the inside
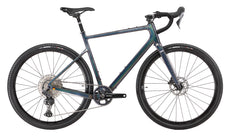
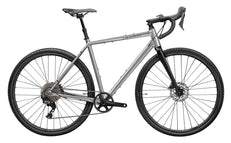
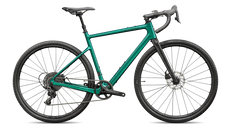
Riding a SIABLO CF GRX (New Gen) or SE:SERIES GR CF 11? Both ship tubeless-ready — just add tape, valves, and sealant.
Emergency Repair on the Trail
Tubeless: Plug It
For small tread punctures, use Muc-Off Stealth Puncture Plugs — insert the plug, snap off the stem, and re-inflate. Done in 90 seconds.
Clincher: Quick Tube Swap
Carry a pre-inflated spare tube in your Topeak Ninja Pouch. Remove the flat, install the spare, inflate with a CO₂ cartridge, and you're rolling in under 5 minutes.
Large Sidewall Tears: Boot It
If the tyre casing is torn, fold a gel wrapper, piece of tyre, or dollar bill inside the casing as a "boot" before inserting the tube — it bridges the gap and prevents herniation.
Maintenance Tips to Avoid Future Flats
- Check tyre pressure before every ride. Under-inflation is the #1 cause of pinch flats
- Inspect tread monthly — replace tyres showing exposed casing threads
- Refresh tubeless sealant every 3–6 months — sealant dries out and loses effectiveness
- Upgrade your rim tape if you're flatting repeatedly — SUNRINGLE Tubeless Rim Tape 78mm offers bomb-proof coverage
- Explore the full tyre range in the Silverback Bikes Parts & Accessories collection
Watch It in Action
See the full technique demonstrated on a real bike — from removing the bead to seating the new tyre:

Subscribe to the Silverback Bikes YouTube channel for more maintenance tips, trail reviews, and bike setup guides.
Shop Tyre & Tube Essentials
- Silverback Bikes Parts & Accessories — tools, tyres, tape, and more
- Gravel Bikes – Built for Roads, Trails and Adventure
- Electric Bikes – Every Adventure
Frequently Asked Questions
Q: How long does it take to replace a bike tube?
A: With practice, a tube swap takes 5–8 minutes. Your first few times may take 15–20 minutes — that's normal. Speed comes with repetition.
Q: Can I use any inner tube on my bike?
A: No — tubes are sized by wheel diameter (26", 27.5", 29", 700c) and tyre width range. Always check the tube packaging matches your tyre size printed on the sidewall.
Q: What's the difference between tubeless and clincher?
A: A clincher uses a separate inner tube inside the tyre. Tubeless eliminates the tube — the tyre seals directly against the rim using airtight tape and liquid sealant. Tubeless is lighter, runs lower pressures for better grip, and self-seals small punctures.
Q: Can I convert my clincher wheels to tubeless?
A: Maybe. You need a tubeless-compatible rim, proper rim tape like Schwalbe Tubeless Rim Tape, tubeless-compatible tyres, and valves. Check your rim's specs first.
Q: How do I know when to replace my tyre vs. just the tube?
A: Replace the tyre if you see: exposed casing threads, cuts deeper than 2–3mm, cracked sidewalls, or if you've had 3+ flats in the same tyre.
Q: What PSI should I inflate my tyres to?
A: Road/gravel: typically 40–80 PSI. MTB tubeless: 18–30 PSI. Always check the max PSI printed on your tyre sidewall and never exceed it.
Explore More from Silverback Bikes
- Browse the Gravel Bikes Collection — including the SIABLO CF GRX (New Gen) and SE:SERIES GR AL 11
- Explore the S-Electro Superfast in the Electric Bikes Collection
- More guides: Bikes Blog and Fat Bike Guide