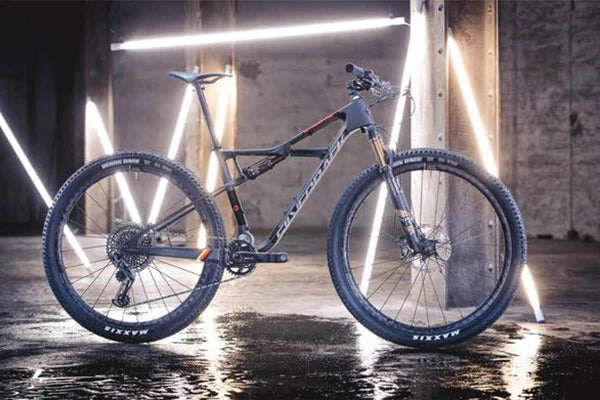
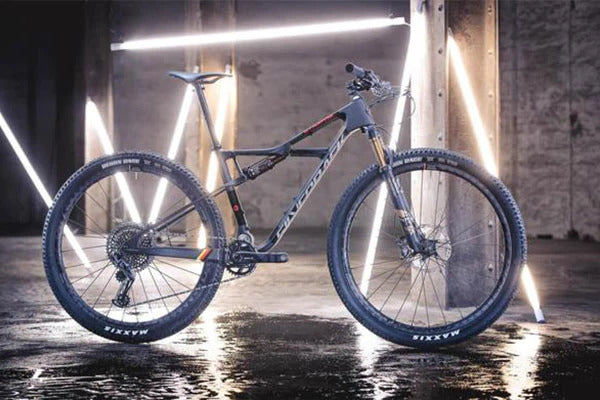
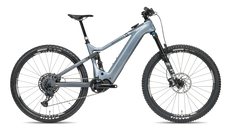
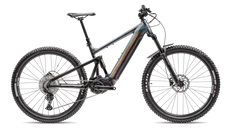
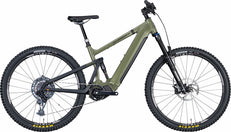
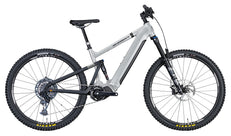
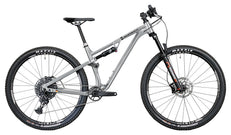
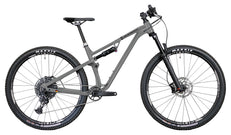
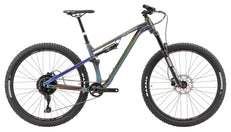
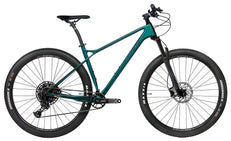
150/145mm Travel
 29" x 2.5" Wheels
 1x12 Speed SRAM AXS
 EP-801 Shimano Motor
 85Nm Torque
 720Wh Battery
 from 20.9kg
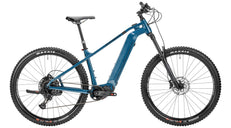
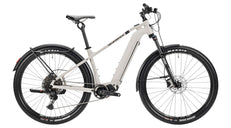
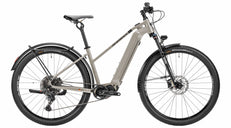
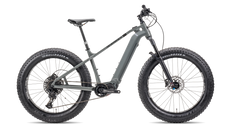
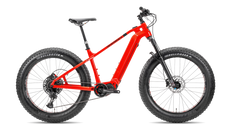

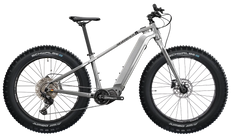

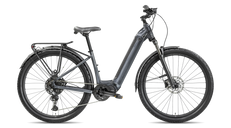
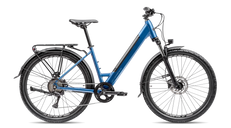
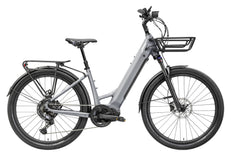
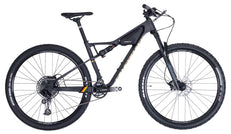
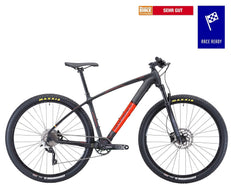
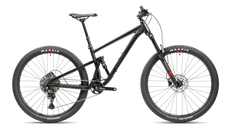
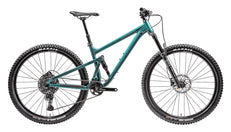
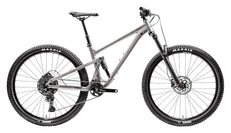
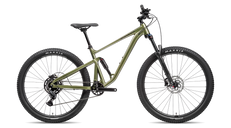
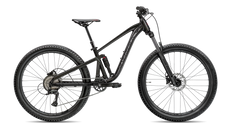
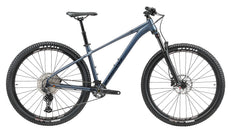
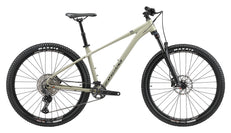
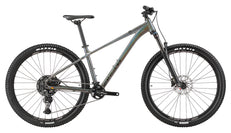
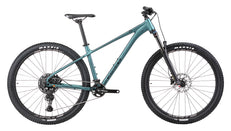
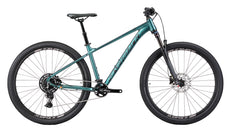
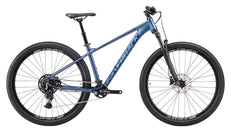
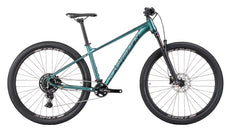
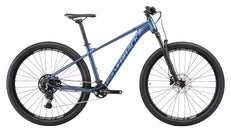

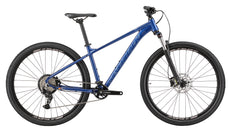
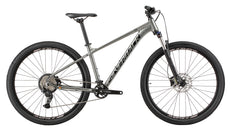
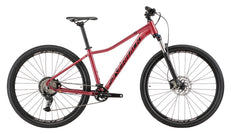
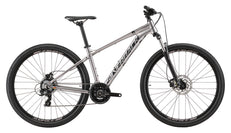
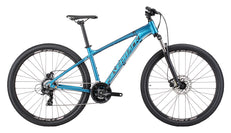
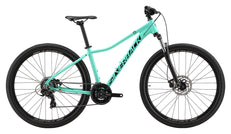
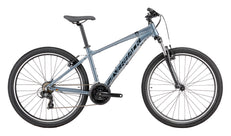
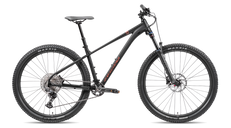
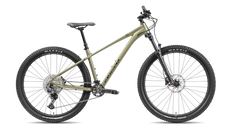
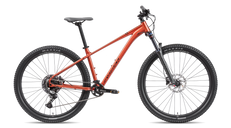
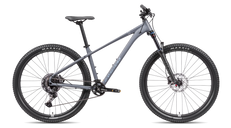
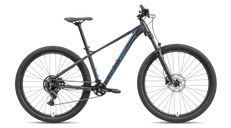
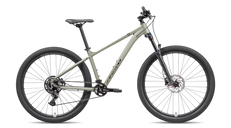
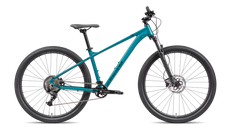
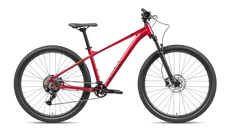
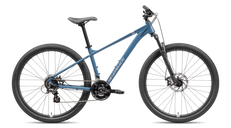
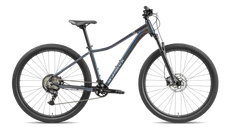
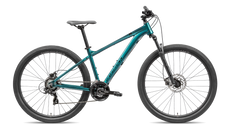
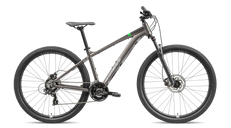
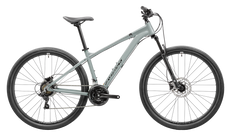
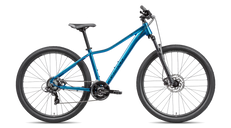
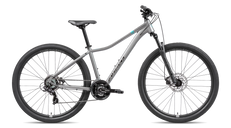
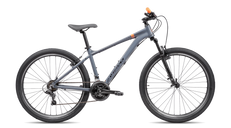
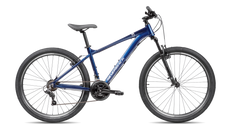
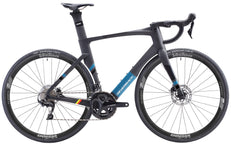
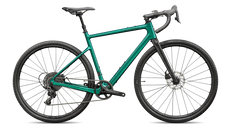
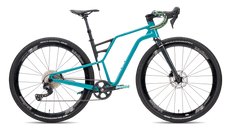
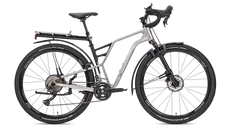
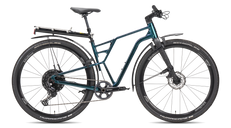
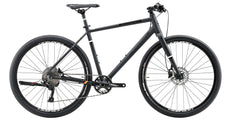
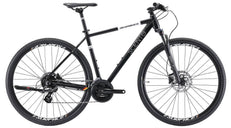
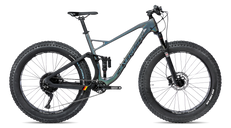
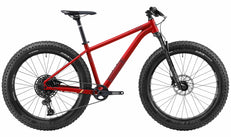
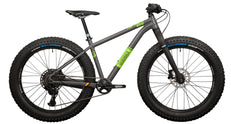
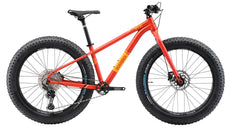
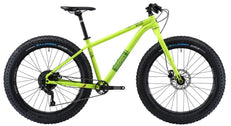
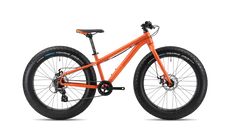
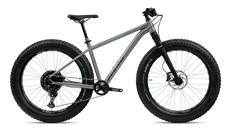
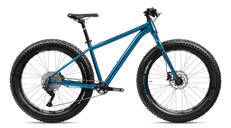
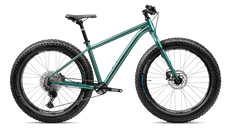
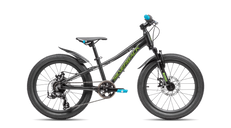
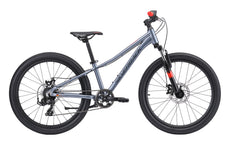
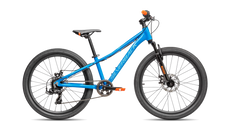
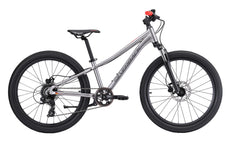


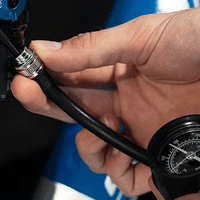
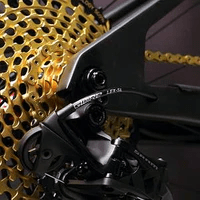
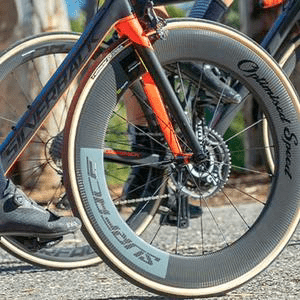


Similar tyres, different conditions
Snow and sand both reward attention to flotation and traction, but they are not interchangeable surfaces. Snow can change from supportive to soft over a short distance. Sand can vary between firm tracks and loose material that absorbs momentum quickly. A setup that works at the trailhead may need reassessment later.
The useful starting point is not a universal pressure number. It is a compatible tyre and rim system, an appropriate baseline and a short test in the actual conditions. Carry inflation equipment, plan a route you can shorten and accept that walking can be the best response to unsupported ground.
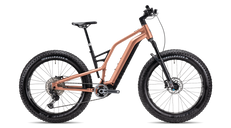
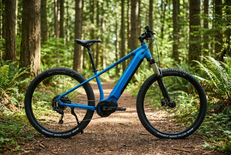
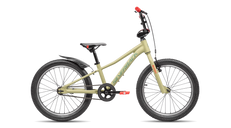
The hero shows a navy-and-light-blue Silverback Scoop SX for illustration. Its listing is currently a draft, so this image does not indicate current availability. Compare current options in the Fat Bikes & E-Fat Bikes collection.
Set up the tyre system first
Test support as well as grip
On both surfaces, a larger contact patch may help spread load. However, too little support can make steering vague or expose the rim to impacts. Follow the tyre and rim guidance, make small adjustments and assess the same short section after each change. Use the method in Fat Bike Tyre Pressure: Find Grip Without Losing Support rather than copying an unexplained setting.
Include the load you will actually carry. A bike tested empty may behave differently with luggage or extra clothing. Keep a record of the gauge reading, surface condition and handling so you can distinguish a useful adjustment from a lucky pass over an easier section.
Account for temperature and changing support
In snow, check the setup in the conditions where you will ride rather than assuming a warm indoor reading is sufficient. In sand, anticipate that the support under the tyres can vary with the route and weather. Recheck when handling changes; do not continue simply because the tyres looked correct before leaving home.
Compare setup priorities
| Setup area | Snow | Sand |
|---|---|---|
| Surface assessment | Depth, crust, packed tracks and ice | Loose areas, firm tracks and hidden obstacles |
| Tyre test | Flotation with adequate steering support | Flotation without excessive tyre movement |
| Technique | Smooth steering and braking | Momentum with smooth pedalling |
| Electric assistance | Avoid abrupt wheelspin | Avoid digging in with abrupt torque |
| Aftercare | Moisture and possible road salt | Abrasive grit and possible salt exposure |
Adapt your riding technique
Snow: keep inputs predictable
Use smooth steering, braking and pedalling rather than sudden corrections. Look ahead for changes in surface texture and support. Ice deserves a separate traction decision; wide tyres alone do not provide dependable grip on polished frozen surfaces. Slow down or walk when the next section is uncertain.
Respect groomed-trail conditions and local access guidance. If your tyres leave deep ruts in soft snow, the route may not support riding that day. A more powerful electric setting does not change the trail's capacity to carry the bike.
Sand: preserve momentum without forcing it
Choose an appropriate gear before the deepest section and aim for steady input. Avoid abrupt turns that ask the front tyre to change direction while it is sinking. If you stop, restart on firmer ground where possible rather than repeatedly applying power in the same soft spot.
Keep away from protected dunes, vegetation and restricted areas. Verify local access rather than assuming a beach is open to cycling. Route planning matters especially where tide, wind or limited exits can complicate the return journey.
Cleaning and maintenance are not optional
Snow rides can leave moisture and road contamination; coastal sand rides can introduce abrasive grit and salt exposure. Clean the bicycle using approved methods, dry it and inspect the drivetrain and brakes. Avoid driving debris deeper into bearings with high-pressure washing.
For electric bikes, follow the instructions around connectors and battery care. Inspect rather than assume that a bike designed for exploration can be immersed or washed without limits. Check the brakes before your next ride, particularly after contamination or cleaning. Plan suitable repair and cleaning equipment through Fat Bike Accessories.
Buying advice
The SE:Series Fat Adventure #2 and SE:Series Fat Explorer listings specify 4.7-inch tyres. Compare the SE:Series Fat Deluxe #2 as another non-electric option, checking the exact fitted tyres before choosing.
For assisted riding, review SilverRider Fat and S-Electro Diamond Fat Explorer (Red). Choose around effort, charging and handling, then verify the actual fitted tyre construction and intended use. Inspect the Vee Tire Bulldozer tyre and tube combo only after confirming rim and frame compatibility. The 4.0 vs. 4.8-Inch Fat Bike Tyres guide explains why more width is not automatically the right upgrade.
FAQ
Can I use one setup for both surfaces?
Possibly, but test in the actual conditions. A safe compromise matters more than copying yesterday's setting.
Does sand require the lowest pressure?
No. You still need adequate tyre support and must respect the equipment guidance.
Is electric assistance useful?
It can help manage effort, but smooth delivery and surface support remain essential. More assistance is not always more traction.