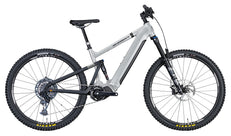
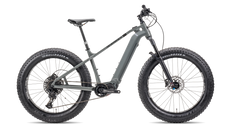
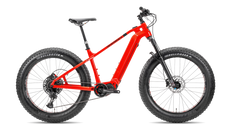
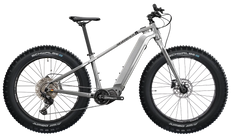
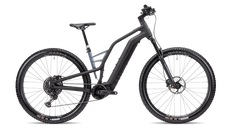
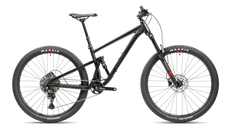
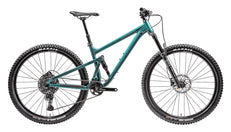
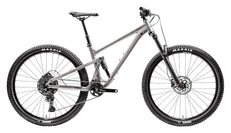
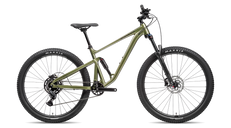
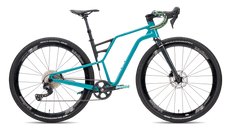
150/145mm Travel
 29" x 2.5" Wheels
 1x12 Speed SRAM AXS
 EP-801 Shimano Motor
 85Nm Torque
 720Wh Battery
 from 20.9kg



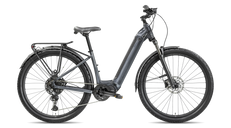
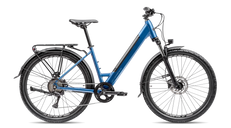

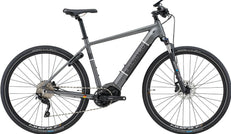
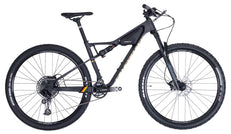



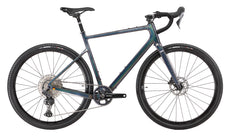
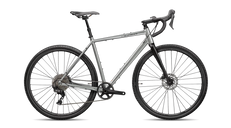
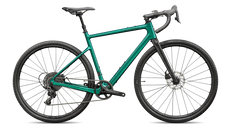
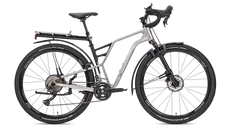
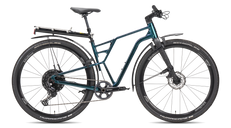
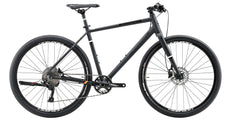
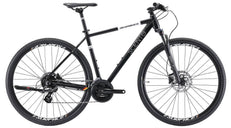
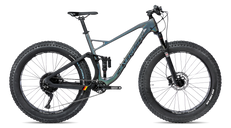
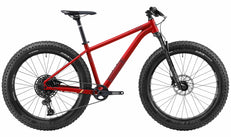
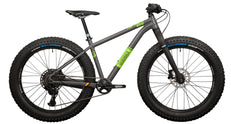
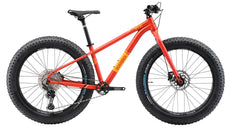





I still remember one of my early club rides from years ago. A rider turned up on an old steel bicycle that looked almost new. The paint had a deep shine, the chain ran quietly, and even the rims looked cared for. I asked him what upgrades he had made. He laughed and said, “Mostly soap, patience, and a dry cloth.”
That stayed with me.
After many years of experience around bicycles, I can say this with confidence: cleaning your bike is not just about making it look good. A proper bike wash helps the bicycle ride smoother, last longer, and stay safer. Dirt hides small problems. Mud holds moisture. Road grime slowly works its way into moving parts. A clean bicycle tells you what is happening before a small issue becomes an expensive repair.
The good news is that bicycle cleaning does not need to be complicated. Even road bikes benefit from regular cleaning, especially when dust, sweat, and road film start building up after repeated rides. You do not need a workshop full of tools. You just need the right method, a little care, and a routine you can actually follow.
What You Need Before You Start
Before you clean your bicycle, set up a simple washing area. A shaded outdoor space is ideal, but a balcony, garage, or wash area can work too. Keep the bike stable, avoid slippery floors, and make sure dirty water drains away safely.
A basic cycle cleaning kit can include:
|
Cleaning Item |
Why You Need It |
|
Bucket of clean water |
For rinsing and washing |
|
Mild bike cleaner |
Helps loosen dirt and grease |
|
Soft sponge or wash mitt |
Safe for frame and painted areas |
|
Soft brushes |
Useful for tyres, wheels, and tight spaces |
|
Drivetrain brush |
Helps clean chain, cassette, and chainrings |
|
Microfibre cloths |
For drying and polishing |
|
Chain lubricant |
Needed after cleaning the drivetrain |
|
Bike cleaner spray |
Helpful for quick cleaning, if used correctly |
You can also keep a few bike wash accessories nearby, such as a small brush for the cassette, a separate cloth for greasy parts, and another clean cloth only for the frame. That one habit alone prevents many small scratches.
Step-by-Step Bicycle Cleaning Process
The best way to clean a bike is to work in a sensible order. I like to clean the dirtiest parts first, then move toward the more delicate areas.
1. Rinse Off Loose Dirt
Start with a gentle rinse. The aim is to soften and remove loose mud, dust, and grit before you touch the frame with a sponge.
Do not blast the bicycle with high pressure. Strong water pressure can force dirt and moisture into bearings, hubs, suspension areas, and other sensitive parts. A gentle flow is enough.
If the bike is covered in dried mud, give it a few minutes to soften. Patience here saves scratches later.
2. Clean the Drivetrain
The drivetrain is usually the dirtiest part of the bike. This includes the chain, cassette, chainrings, and derailleur area. Mountain bikes usually need the most frequent cleaning because mud, grit, and trail debris collect so quickly after off-road riding.
Use a separate brush and cleaning cloth for these parts because they carry oil and grit. Apply a suitable cleaner, scrub gently, and rotate the pedals slowly to work through the chain. Avoid throwing greasy water onto the braking surfaces.
Once the drivetrain is clean, rinse it carefully and dry it well. A clean drivetrain feels quieter, shifts better, and wears more slowly.
3. Wash the Frame and Fork
Now move to the frame. Use clean water and a soft sponge or cloth. Work from the top of the bike downward. This keeps dirty water from running over areas you have already cleaned.
Be gentle around logos, paint edges, frame joints, and cable entry points. You are not scrubbing a floor. You are cleaning a machine with moving parts and a finish worth protecting.
4. Clean the Wheels, Tyres, and Spokes
Wheels collect a surprising amount of grime. Clean the tyres, rims, spokes, and hubs carefully. If your bike uses rim brakes, make sure the braking surface is clean. If it uses disc brakes, avoid getting oily cleaner near the rotors or pads.
Tyres also deserve attention. Small stones, glass pieces, or thorns can hide in the tread. I have found many punctures waiting to happen during a simple post-ride clean.
5. Rinse and Dry Properly
Once everything is washed, rinse the bike gently. Then dry it with a clean microfibre cloth.
Do not leave the bike wet and walk away. Water sitting around bolts, chain links, and hidden corners can encourage rust or dull the finish over time. Drying is part of the cleaning process, not an optional extra.
6. Inspect the Bike
After washing, take a slow look over the bicycle. Check the tyres, brake pads, cables, chain, bolts, and frame. Cleaning gives you the perfect chance to spot wear, cracks, loose parts, or cuts in the tyres.
Many good mechanics will tell you the same thing: clean bikes are easier to maintain because problems cannot hide under dirt.
How to Clean Your Bike Without Causing Damage
Most cleaning damage happens when riders rush.
The common mistakes are easy to avoid:
|
Mistake |
Why It Is a Problem |
|
Using high-pressure water |
Can push water into bearings and seals |
|
Scrubbing dry dirt |
Can scratch paint and clear coat |
|
Using harsh chemicals |
May damage paint, rubber, seals, or finishes |
|
Using one cloth for everything |
Spreads grease from drivetrain to frame |
|
Forgetting to dry the bike |
Can lead to rust and dull surfaces |
|
Lubricating before drying |
Traps moisture and dirt |
The safest approach is simple: soften dirt first, clean gently, use separate cloths, rinse lightly, and dry properly.
If you are using any bike cleaner spray, apply it with control. Avoid spraying near brakes, bearings, and suspension seals unless the cleaner is meant for that area. When in doubt, spray onto the cloth first and then wipe the part.
Care After Bike Cleaning
Once the bike is dry, the chain needs attention. A clean chain without lubricant will not stay happy for long.
Apply chain lubricant carefully to the rollers, not all over the outside plates. Let it settle for a few minutes, then wipe off the excess. Too much lubricant attracts dust and turns into black paste, especially on dry roads or trails.
After cleaning, also check:
|
Area |
What to Look For |
|
Chain |
Dryness, rust, stiff links |
|
Tyres |
Cuts, embedded stones, low pressure |
|
Brakes |
Clean braking surface and proper bite |
|
Bolts |
Obvious looseness or corrosion |
|
Cables |
Fraying, stiffness, or rust |
|
Frame |
Chips, cracks, or dull patches |
This small care routine takes only a few minutes, but it keeps the bike ready for the next ride.
Bike Cleaning at Home
Bike cleaning at home should feel easy enough that you actually do it. If the process feels too complicated, most riders avoid it until the bicycle is already filthy.
For a quick home bike wash, follow this routine:
-
Rinse loose dirt.
-
Clean the chain and gears.
-
Wash the frame.
-
Clean the wheels and tyres.
-
Rinse gently.
-
Dry the bike.
-
Lubricate the chain.
That is enough for most regular riders.
You can do a deeper clean after muddy rides, wet-weather rides, long-distance tours, or when the bike starts sounding rough. But for daily care, simple consistency matters more than a perfect workshop-style clean.
FAQ
Why should you clean and maintain your bike?
A clean bicycle rides better, lasts longer, and is easier to inspect. Dirt and grime increase wear on the chain, gears, brakes, and frame.
Why should you clean your bicycle?
Because mud, sweat, dust, and road grime slowly damage parts if left alone. Cleaning also helps you catch small problems early.
How often should you clean your bike?
Clean it after wet, muddy, or dusty rides. For regular dry-road use, a light clean every couple of weeks is usually enough, with a deeper wash when needed.
How do I clean my bike properly?
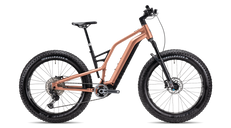
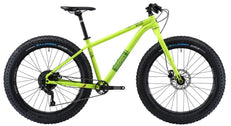
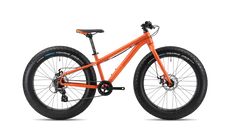
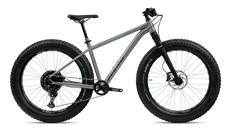
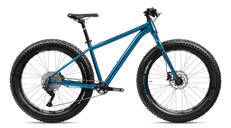
Rinse gently, clean the drivetrain, wash the frame, clean the wheels, rinse again, dry fully, and lubricate the chain. Fat Bikes can hold onto sand, slush, and packed dirt, so they deserve a slightly slower and more careful cleaning routine.
How do I clean the drivetrain properly?
Use a separate brush and cloth for the chain, cassette, chainrings, and derailleur area. Remove grime carefully, rinse lightly, dry well, and re-lubricate the chain.
How do I clean the bike frame?
Use clean water, a soft sponge, and mild cleaner. Work gently from top to bottom and avoid scrubbing dry dirt into the paint.
How do I clean and polish my bicycle?
Clean and dry the bike first. Then use a clean cloth and a bicycle-safe polish on painted frame areas only. Avoid braking surfaces, tyres, grips, saddles, and drivetrain parts.
How can I best care for my bike?
Keep it clean, dry it after washing, lubricate the chain correctly, check tyre pressure, and inspect brakes and moving parts regularly.
How do I prevent paint damage?
Never scrub dry dirt, avoid harsh cleaners, use soft cloths, and keep greasy drivetrain cloths away from the frame.
Is regular cleaning really necessary?
Yes. Regular bicycle cleaning reduces wear, protects parts, and keeps the ride smoother and safer.
Do you need special gear to clean a bicycle at home?
No. Basic bicycle cleaning tools are enough: water, soft cloths, brushes, mild cleaner, and chain lubricant. Extra accessories can help, but they are not essential.
Conclusion
A proper bike wash is not about showing off a shiny frame at the cafe stop. It is about respect for the machine that carries you over roads, climbs, trails, rain, dust, and long quiet miles.
After all these years, I still enjoy the small ritual of cleaning a bicycle. You notice things. A loose bolt. A worn tyre. A dry chain. A scratch from the last ride. It becomes part maintenance, part memory.
The best way to clean a bike is not complicated: loosen the dirt, clean with care, dry properly, and protect the moving parts. Do that regularly, and your bicycle will reward you with a smoother ride, a longer life, and that quiet feeling every cyclist knows when the bike is running just right.
If your current bike is ready for an upgrade, this is also a good time to explore the latest collection of silverback and buy bicycles online and choose a model that suits your riding style.