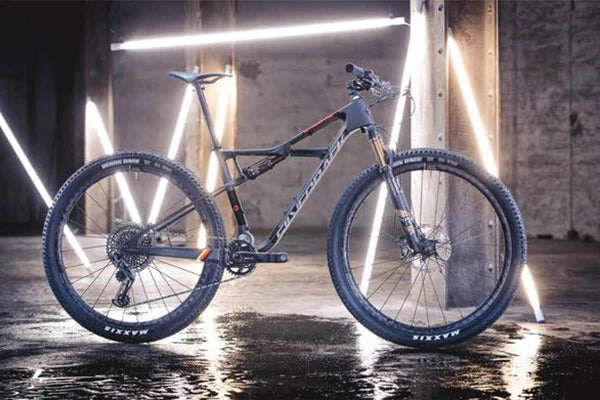
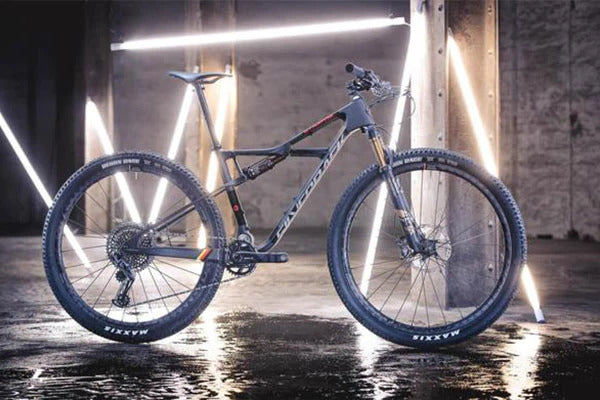
150/145mm Travel
 29" x 2.5" Wheels
 1x12 Speed SRAM AXS
 EP-801 Shimano Motor
 85Nm Torque
 720Wh Battery
 from 20.9kg
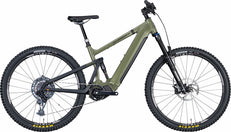
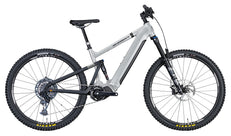
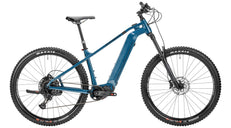
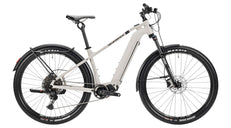
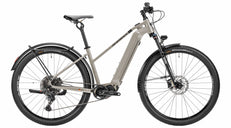
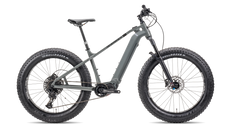
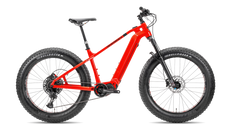

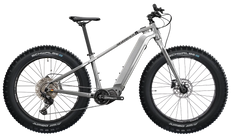

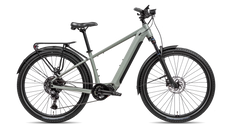
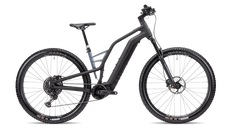
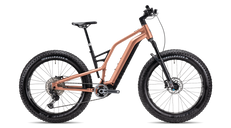
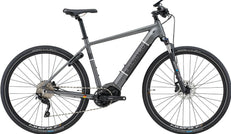
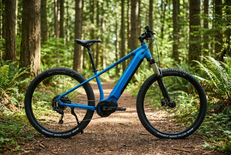
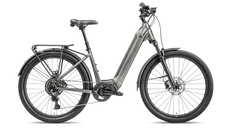
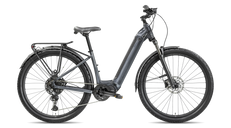
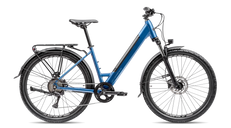
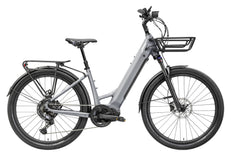
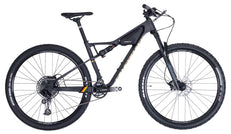
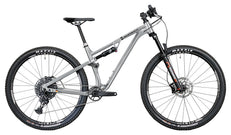
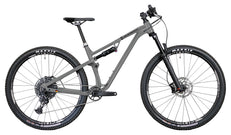
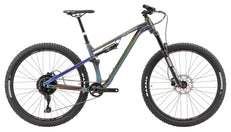
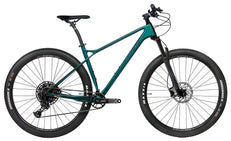
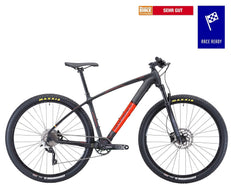
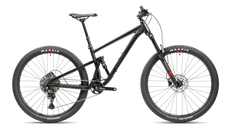
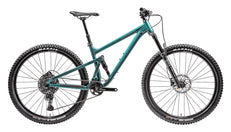
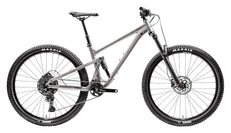
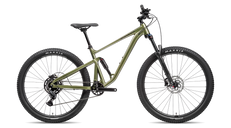
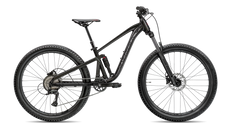
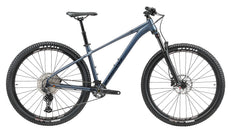
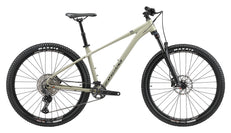
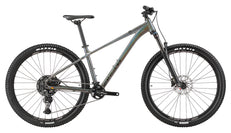
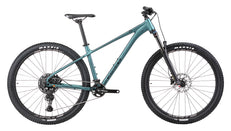
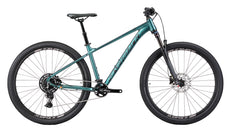
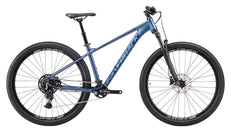
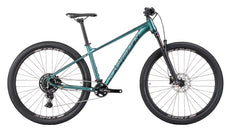
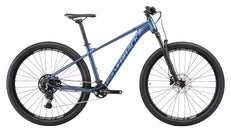

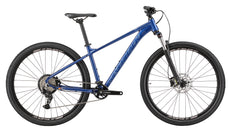
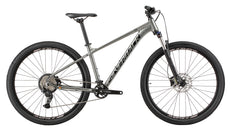
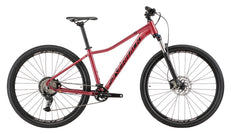
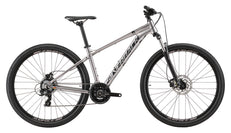
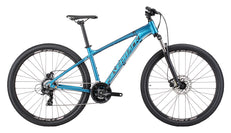
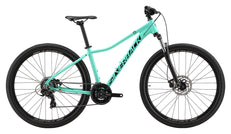
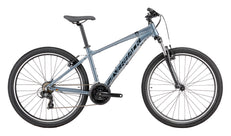
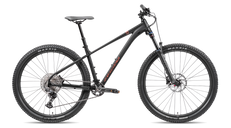
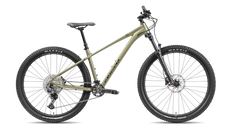
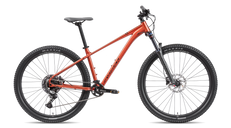
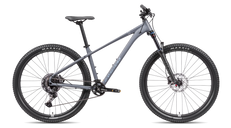
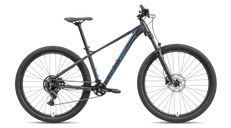
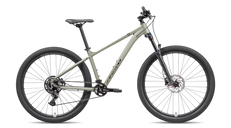
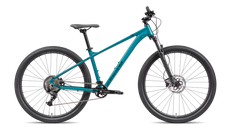
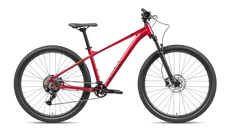
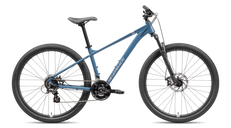
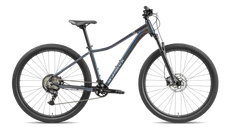
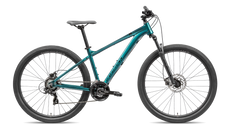
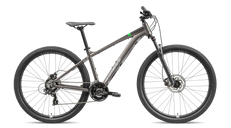
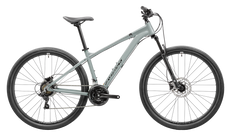
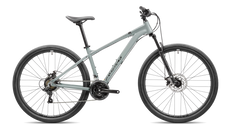
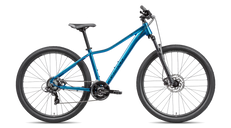
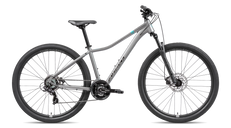
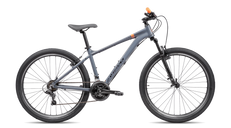
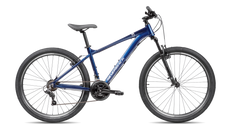
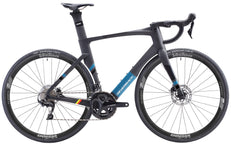
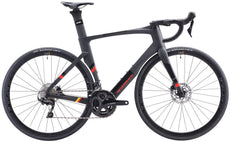
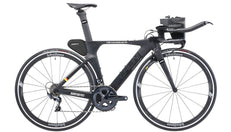
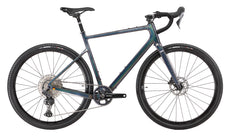
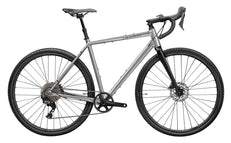
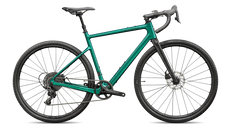
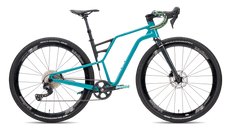
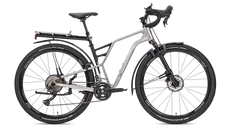
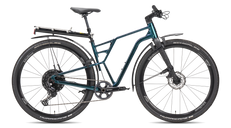
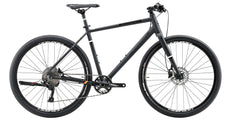
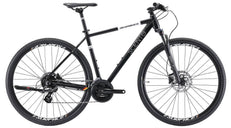
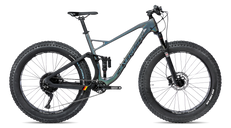
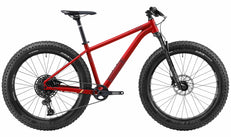
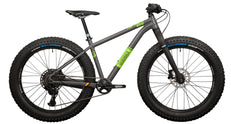
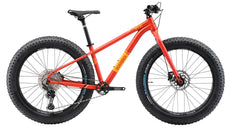
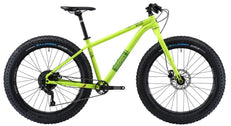
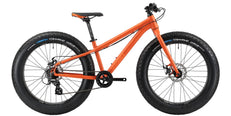
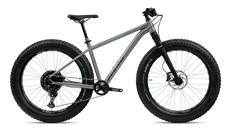
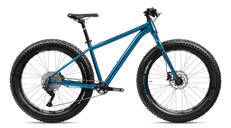
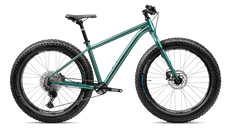
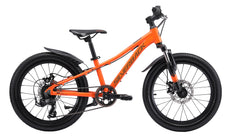
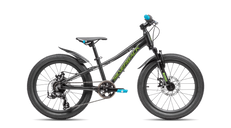
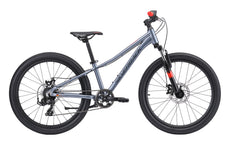
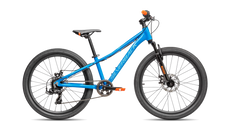
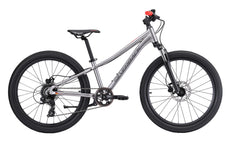
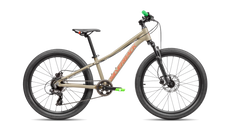
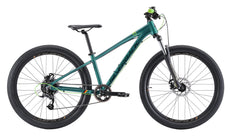
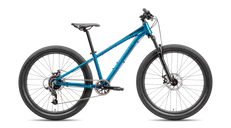
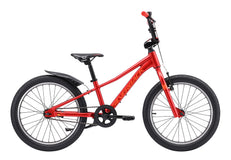
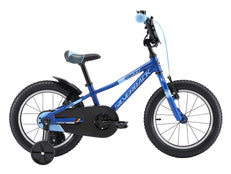
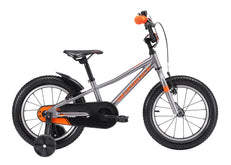
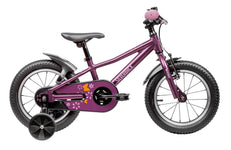
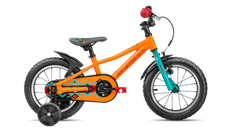
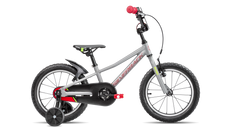
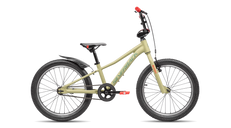
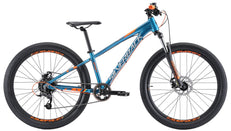


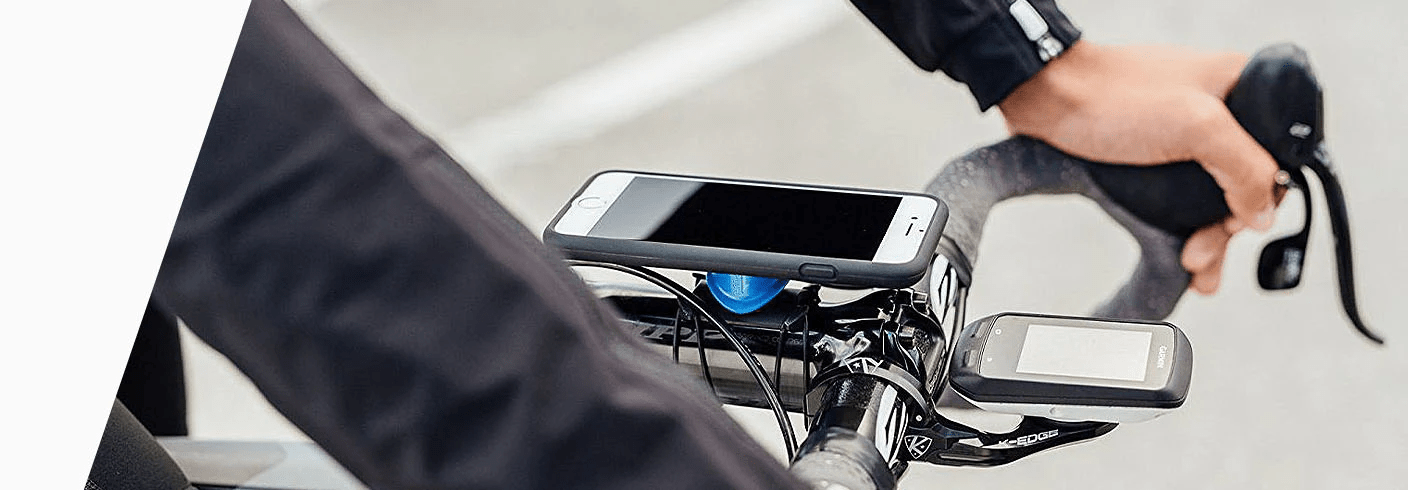

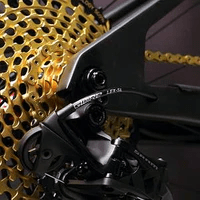
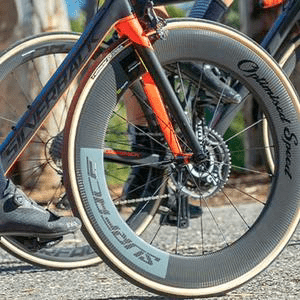


Getting your new Silverback bike out of the box is one of the most exciting moments in a rider's life. But rushing through assembly — or skipping key safety checks — can turn that excitement into a dangerous situation on the road or trail. This guide walks you through every step so your first ride is a confident one.
Whether you've just received a SilverRider Gravel Path, a SilverRider Gravel Sport, or our flagship SilverRider Gravel Pro, this process applies across the entire Silverback lineup.
What You'll Need Before You Start

You don't need a full workshop — but a few key tools make all the difference. We recommend keeping a compact multi-tool like the SKS TOM 22 in your kit permanently. For this assembly, you'll need:
- Allen/hex keys (4mm, 5mm, 6mm)
- Torque wrench (recommended: 4–6 Nm for cockpit parts)
- A multi-tool for on-the-go adjustments
- Grease or carbon assembly compound
- Flat workspace or a bike stand
Step 1: Unboxing and Inspection
Carefully open the packaging and remove all protective foam and cable ties. Inspect the frame, fork, wheels, and components for any shipping damage. If you notice anything unusual, contact us before proceeding. Check out the full Silverback bike collection if you're still choosing your model.
What to Inspect
- Frame and fork for cracks or dents
- Wheel rims for true (no wobble)
- Derailleur hanger for bends
- Brake levers and shifters for damage
Step 2: Attach the Front Wheel
Slide the front wheel into the fork dropouts. For thru-axle bikes, insert the axle from the non-drive side, thread it through the hub, and torque to the manufacturer's spec (typically 12–15 Nm). For quick-release, ensure the lever is firm — not just tight. Never ride with a loose front wheel.
Step 3: Install the Handlebar and Stem
Align the stem with the steerer tube and set your bar height preference. Torque stem bolts evenly in a cross-pattern — typically 5–6 Nm for aluminium bars, lower for carbon. Do not overtighten. For riding position tips, see our guide on how to replace your bike tube and tire where we also cover cockpit comfort adjustments.
Handlebar Checklist
- Bar is centred in stem clamp
- Shifters and brake levers at correct ergonomic angle
- All bolts torqued evenly
- Bar ends (if fitted) secured
Step 4: Saddle and Seatpost Setup
Insert the seatpost to your required height — never below the minimum insertion mark. Apply a thin layer of grease (or carbon paste if applicable) before inserting. Torque the saddle clamp bolt to 4–5 Nm. Your saddle angle should be roughly level — slight nose-up or nose-down adjustments are personal preference.
For long-distance comfort, consider upgrading to the Silverback Ergo Comfort+ Saddle or the Silverback Ergo Zone Saddle, both designed for e-bike, MTB, and gravel use.
Step 5: Drivetrain Check
Run through all gears before your first ride. Shift from the smallest to the largest cog and back — the chain should move smoothly without hesitation or noise. If your bike has a SRAM GX Eagle 12-speed rear derailleur, ensure the B-gap is set correctly per the SRAM manual.
Drivetrain Safety Checks
- Chain connected securely — check your SRAM PowerLock connector
- Rear derailleur hanger straight
- Cable tension set correctly
- Front chainring bolts tight
Step 6: Brake Setup and Safety Check
This is the step most riders rush — don't. Squeeze each brake lever hard: the lever should not touch the handlebar grip. Spin each wheel and verify the brake pads are not dragging. Check that rotors are centred in the caliper. Test braking at low speed before every first ride.
Also check your tyre pressure. Our bikes are supplied with Schwalbe Smart Sam Plus tyres on select models — check the sidewall for the recommended PSI range.
Step 7: First Ride Safety Protocol
Before heading out on a proper ride, do a controlled 5-minute test in a safe, flat area. Check:
- Brakes engage firmly within the lever travel
- Steering feels stable with no play
- No unusual noises from the drivetrain or wheels
- Saddle doesn't slip or rotate
Ready to explore? Our Bike Packing collection has everything you need for your first adventure.
Explore the Full Silverback Range
Once you're set up and rolling, explore what Silverback has to offer. Our Mountain Bike collection features award-winning designs, and if you're considering an e-bike upgrade, check out our E-Bike commuting collection. You can also browse the Top Mountain Bikes selection for editorial picks.
For more about the SilverRider platform — featured in international cycling press — read our editorial: Bike Magazin First Test: Silverback Silver Series.
Frequently Asked Questions
Do I need a torque wrench to assemble my Silverback bike?
We strongly recommend one, especially for carbon components. Over-tightening is one of the most common causes of damaged stems, bars, and seatposts. A basic torque wrench (2–20 Nm range) is a worthwhile investment and pairs well with a quality multi-tool.
Can I assemble the bike myself, or do I need a bike shop?
Most riders with basic mechanical confidence can assemble a Silverback bike at home following this guide. If you're unsure about any step — particularly brake bleeding or suspension setup — we recommend a quick visit to your local bike shop for a safety check.
How long does assembly take?
Plan for 45–90 minutes for a first-time build. An experienced home mechanic can do it in 20–30 minutes. Don't rush — especially the brake and cockpit checks.
What torque specs should I use?
Always refer to the torque markings on the components themselves and the manual supplied with your bike. General guidelines: stem bolts 5–6 Nm, seatpost clamp 4–5 Nm, thru-axle 12–15 Nm. When in doubt, less is more — especially on carbon.
My derailleur isn't shifting cleanly — what do I do?
First, check cable tension using the barrel adjuster. For SRAM Eagle derailleurs, also check the B-gap with the chain on the largest cog. If you have a suspension fork with a remote lockout, verify the SRAM OneLoc Remote Lever is properly installed and not interfering with shift cables.
Is it normal for brakes to make noise after assembly?
Light squealing during the first few uses is normal as pads bed in. If noise persists after 5–10 uses, check for contamination on the rotor or pads. Replace pads if contaminated — do not attempt to clean with solvents.