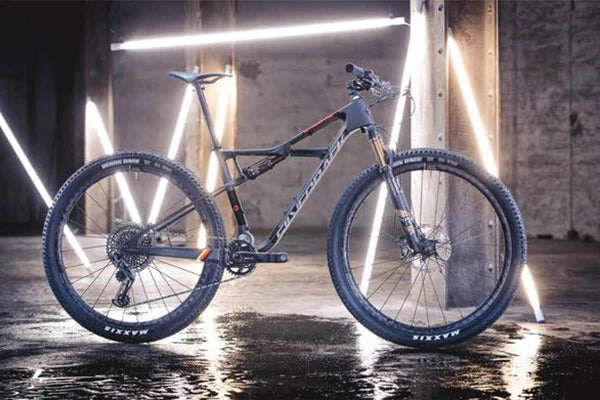
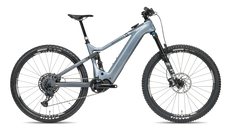
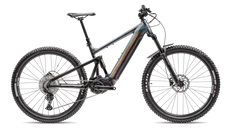
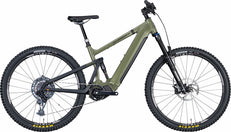
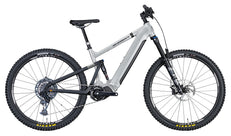
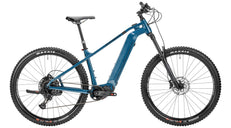
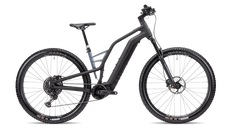
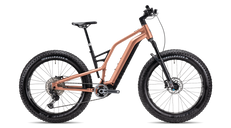
150/145mm Travel
 29" x 2.5" Wheels
 1x12 Speed SRAM AXS
 EP-801 Shimano Motor
 85Nm Torque
 720Wh Battery
 from 20.9kg


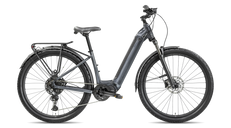
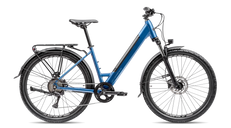
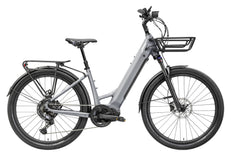
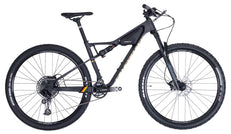
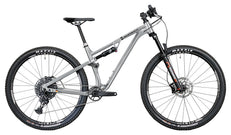
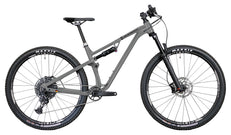
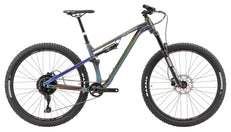
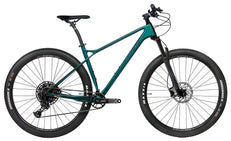
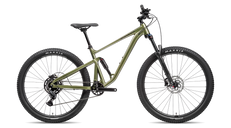
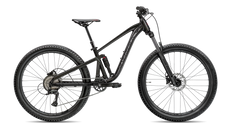
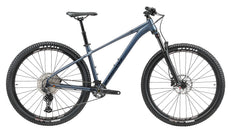
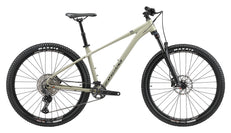

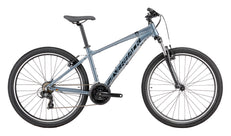
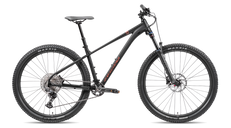
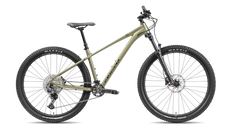
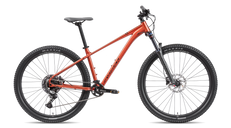
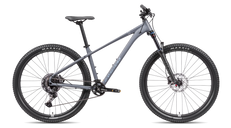
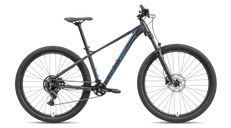
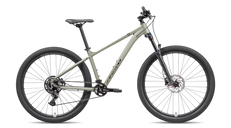
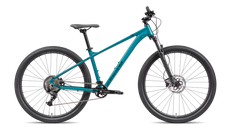
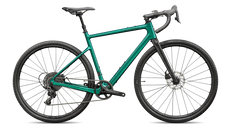
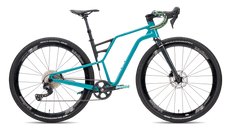
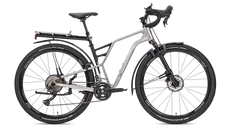
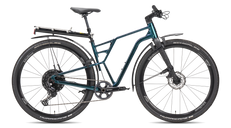
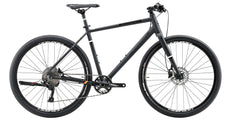
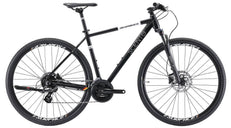
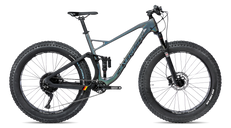
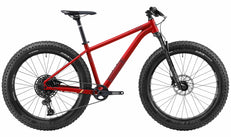
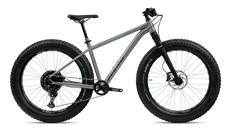
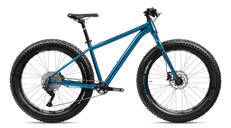
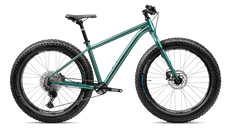
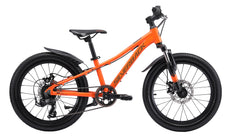
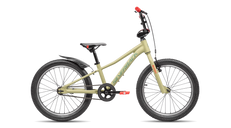


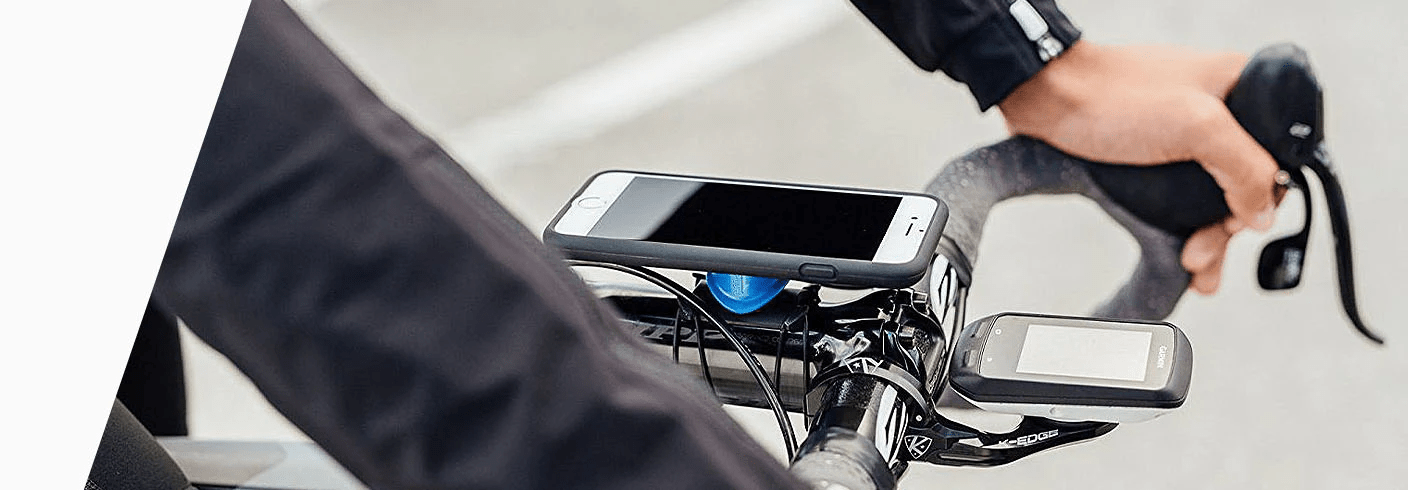


Buy the accessories that keep you riding
The most useful fat bike accessories solve a problem you actually encounter. A good inflation setup, appropriate repair equipment and secure storage usually matter more than an extra gadget. Start with the demands of your route and the equipment already supplied with your bike. Browse the Fat Bike Accessories collection with a specific checklist rather than buying everything at once.
Wide tyres and specialist frames make compatibility particularly important. A pump can connect correctly yet be inconvenient for high-volume inflation. A mudguard can look wide enough but fail to clear the tyre through steering or suspension movement. Check the complete installation, not just the accessory's category name.
First priority: inflation and puncture repair
Choose a practical pump and gauge
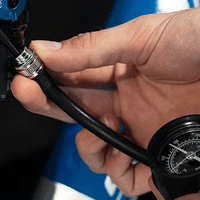
Look for a pump suitable for the air volume and valve type of your tyres. A gauge that is useful in your operating range makes repeatable adjustments easier. Use the same gauge when comparing settings and check its condition rather than treating every reading as perfect. Our Fat Bike Tyre Pressure: Find Grip Without Losing Support guide explains a controlled test method.
For remote rides, carry an inflation method you have tested yourself. Check that it reaches the valve with your wheel and bag arrangement. The first attempt should happen at home, not beside a cold trail while the rest of your group waits.
Match the repair kit to the system
A tube-based setup needs a correctly sized spare or a suitable patch kit, plus tools you can use safely. A tubeless setup may need a compatible repair method and still benefit from an emergency tube. Know how to remove your wheel and manage the tyre before relying on that backup.
The Vee Tire Bulldozer tyre and tube combo contains listed 26 x 4.7 tyres and tubes described for 26 x 4.0–4.8 applications. Verify the exact dimensions and valve requirements against your wheels. A stated tube range does not establish that the tyres fit every frame in the collection.
Second priority: visibility and weather protection
Lights should suit your riding conditions and the applicable requirements for the route. Check mounting security, battery life or electrical compatibility, and whether bags obscure the beam. Do not wire accessories into an electric system without confirming the approved connection and installation method.
Mudguards can improve comfort in spray, but width is only one measurement. Check clearance, mounting points and stability over bumps. A rattling or poorly secured guard can be more than an annoyance if it moves towards the wheel. Follow the accessory and bicycle instructions together.
Compare accessory priorities
| Accessory | Main benefit | Compatibility check |
|---|---|---|
| Pump and gauge | Repeatable inflation | Valve, pressure range and air volume |
| Repair kit | Recovery from punctures | Tyre system, tube size and tools |
| Lights | Visibility and illumination | Mounting and power source |
| Mudguards | Reduced spray | Tyre clearance and attachment |
| Rack or bags | Useful load carrying | Approved mounts and load limits |
Third priority: luggage and security
Check mounting points before choosing a rack
Confirm the exact bike's mounting provisions and the permitted load for the bike and accessory. Do not assume a rack is compatible because its name contains fat bike. Check heel clearance, tyre clearance and whether the load affects cables, lights or battery removal.
Frame and handlebar bags can be alternatives, but straps must not interfere with moving parts or controls. Protect contact points as directed and recheck the installation after the first ride. Distribution matters: putting everything high or at one end can change handling.
Choose security around your parking routine
Check that your lock reaches a suitable fixed object without leaving the bicycle awkwardly positioned. Secure removable items as well as the frame, and plan where the bike will stay overnight. An accessory kit should protect the bike between rides, not only help while you are moving.
Buying advice
Allocate your first accessory budget to inflation, repair and security, then buy route-specific equipment. Ask about dimensions and installation if a listing is vague. For electric models, add charging and battery-storage logistics to the checklist. For winter, check whether gloves let you operate your tools. A carefully tested small kit is more useful than an overloaded bag of equipment you have never used.
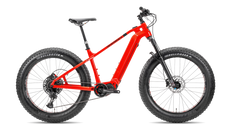
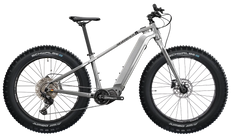
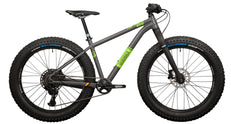
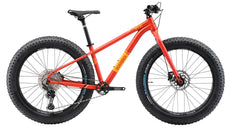
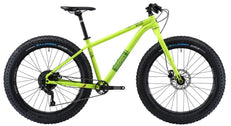
If you are still selecting your bicycle, use the Fat Bike Buying Guide: Choose for Your Actual Riding alongside the Fat Bikes & E-Fat Bikes collection. Check the exact configuration of SE:Series Fat Deluxe #2, SE:Series Fat Adventure #2 or SE:Series Fat Explorer before choosing accessories. For electric options, review SilverRider Fat and S-Electro Diamond Fat Explorer (Red); accessory fit and electrical compatibility must still be confirmed individually.
FAQ
Does tubeless mean I can leave the repair kit at home?
No. Tubeless systems can still suffer damage or air loss that requires a roadside response.
Will any fat-bike rack fit?
No. Confirm mounting compatibility, clearances and load limits for the exact frame and rack.
What should I buy first?
A suitable inflation setup and repair kit, followed by the visibility and security equipment your normal riding requires.