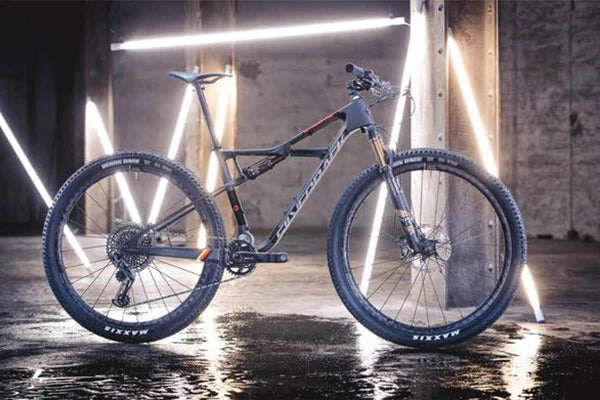
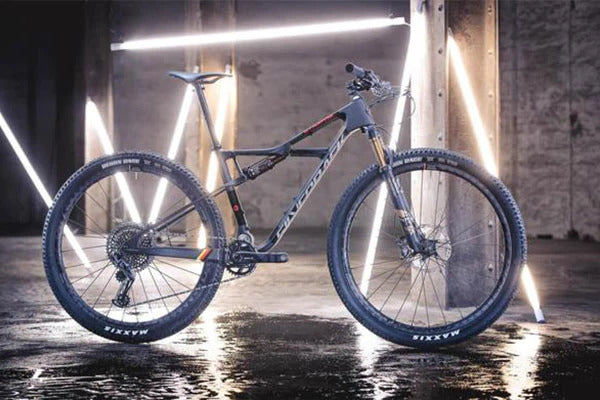
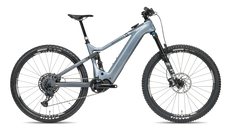
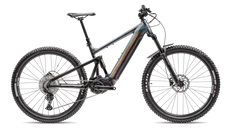
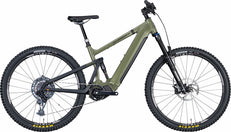
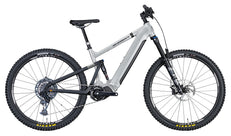
150/145mm Travel
 29" x 2.5" Wheels
 1x12 Speed SRAM AXS
 EP-801 Shimano Motor
 85Nm Torque
 720Wh Battery
 from 20.9kg
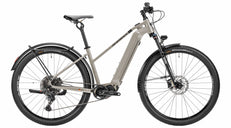
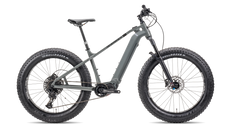
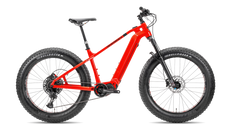

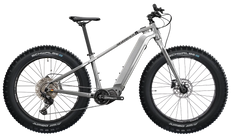

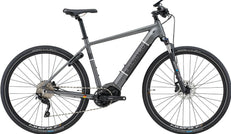
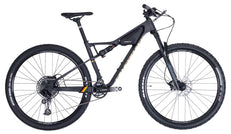
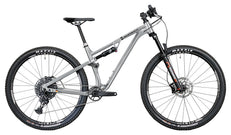
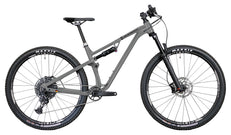
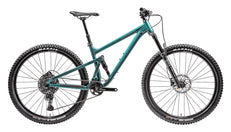
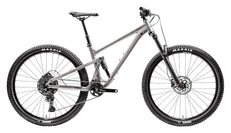
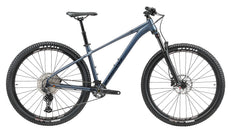
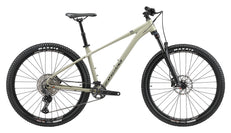
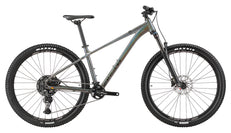
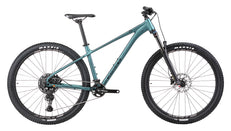
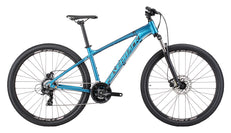
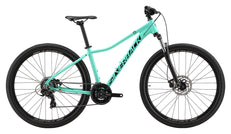
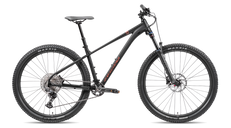
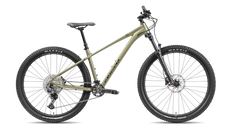
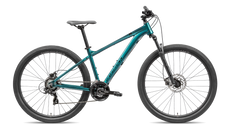
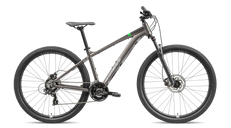
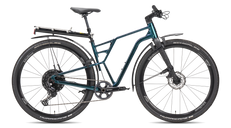
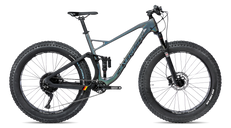




There are a few things in mountain biking that riders love to discuss: suspension settings, tyre choice, wheel size, drivetrain upgrades, and whether a climb was actually “rideable” or just a polite way of saying everyone walked it.
But tyre pressure? That little number on the pump gauge often gets treated like an afterthought.
I learned that lesson the hard way many years ago. I had a mountain bike that looked ready for anything, fresh tyres, decent suspension, strong brakes, the lot. Yet on one rocky trail, the bike felt nervous. It bounced off roots, skipped through corners, and left my hands buzzing by the end of the ride. I blamed the trail. Then the bike. Then the tyres.
The real problem was simpler: I had too much air in the tyres.
A few PSI less, and the same bike suddenly felt calmer, grippier, and more willing to hold a line. That day taught me something I still tell newer riders now: correct mountain bike tire pressure is one of the cheapest performance upgrades you will ever make.
Mountain Bike Tire Pressure Basics
Mountain bike tire pressure is the amount of air inside your tyres, usually measured in PSI, or pounds per square inch. On paper, it sounds simple. In real trail riding, it affects almost everything.
Your tyres are the first part of the bike to meet the ground. Before the MTB suspension moves, before the frame reacts, before your arms and legs absorb the hit, the tyre has already made the first decision. It either grips, bounces, folds, rolls smoothly, or smacks the rim into a rock.
Too much pressure makes the bike feel harsh and skittish. The tyre cannot deform properly around roots and stones, so it skips across the trail instead of gripping it.
Too little pressure gives comfort and traction at first, but go too low and the tyre starts to squirm in corners. You may feel rim strikes, pinch flats, burping on tubeless tyres, or vague steering.
The correct MTB tyre pressure sits between those two mistakes. It gives enough support to protect the wheel, but enough softness to let the tyre work with the terrain.
What Affects Mountain Bike Tyre Pressure?
There is no single perfect PSI for every rider. I have seen two riders on the same trail, same bike size, same tyre brand, and still they needed different pressures. That is normal.
The right pressure depends on several things:
|
Factor |
How It Changes Pressure |
|
Rider weight |
Heavier riders usually need more PSI; lighter riders can run less |
|
Tyre width |
Wider tyres can usually run lower pressure |
|
Tyre casing |
Stronger casings support lower pressure better |
|
Tubeless or tubes |
Tubeless setups can usually run lower pressure than inner tubes |
|
Terrain |
Rocky trails need support; loose or wet trails need grip |
|
Riding style |
Aggressive riders often need more pressure |
|
Bike type |
Hardtails and full-suspension bikes can need different setups |
|
E-MTB weight |
Heavier electric mountain bikes usually need extra support |
|
Temperature |
Air pressure can change with heat and cold |
That is why copying your friend’s pressure rarely works perfectly. Their number can be a starting point, not the final answer.
Typical MTB PSI Ranges
Most modern mountain bikes run somewhere between 18 and 30 PSI, though there are exceptions. Cross-country riders may go a little higher for speed. Downhill riders with strong casings and inserts may go lower for grip.
Here is a practical starting range:
|
MTB Type |
Front Tyre |
Rear Tyre |
Riding Focus |
|
Cross-country |
22-30 PSI |
24-32 PSI |
Speed and efficiency |
|
Trail bike |
20-26 PSI |
22-28 PSI |
Grip, comfort, control |
|
All-mountain |
19-25 PSI |
21-27 PSI |
Mixed technical riding |
|
Enduro |
18-24 PSI |
20-26 PSI |
Hard cornering and impacts |
|
Downhill |
16-23 PSI |
18-25 PSI |
Maximum grip and control |
|
Fat tyre MTB |
5-12 PSI |
6-14 PSI |
Sand, snow, soft ground |
These are starting points, not commandments. Your tyre, rim, trail, weight, and riding style will decide the final number.
How to Choose Your PSI
Start with the tyre manufacturer’s recommended range printed on the sidewall. Then choose a sensible middle point based on your riding.
For a regular trail bike with tubeless tyres, many riders can begin around:
|
Setup |
Front |
Rear |
|
Light rider |
19-21 PSI |
21-23 PSI |
|
Average rider |
21-24 PSI |
23-26 PSI |
|
Heavy rider |
24-28 PSI |
26-30 PSI |
The rear tyre usually needs slightly more pressure because it carries more weight, takes harder impacts, and handles much of the drive force. The front tyre can often stay a little softer because it is responsible for steering grip and confidence in corners.
My advice is simple: adjust in small steps. One or two PSI can change the feel of a mountain bike more than people expect.
Adjusting Tire Pressure Based on Rider Weight
Rider weight is one of the biggest factors in mountain bike tire pressure. A 60 kg rider and a 95 kg rider should not expect the same tyre pressure to behave the same way.
A lighter rider can usually run lower PSI because there is less force pushing the tyre into the trail. A heavier rider needs more support to avoid tyre fold, rim strikes, and pinch flats.
A simple adjustment guide:
|
Rider Weight |
Suggested Adjustment |
|
Under 60 kg |
Reduce 1-3 PSI from baseline |
|
60-75 kg |
Use baseline pressure |
|
75-90 kg |
Add 1-3 PSI |
|
90 kg and above |
Add 3-5 PSI, especially in the rear |
Do not make the mistake of only increasing the rear tyre. The rear needs more pressure, yes, but the front still needs enough support for braking and cornering.
Terrain-Based Tire Pressure Setup
The trail tells you a lot if you pay attention.
On hardpack and fast dry trails, slightly higher pressure can help the bike roll cleanly and feel more precise. On loose dust or gravel, a little less pressure gives the tyre a bigger contact patch and helps it bite.
On wet roots and muddy trails, lower pressure can improve grip, but there is a limit. Go too soft and the tyre can feel unstable, especially when pushing into turns.
For rocky trails, I like to think in two directions. Lower pressure helps the tyre shape around rocks. Higher pressure protects the rim. The right answer sits in the middle, and that middle changes depending on how hard you ride.
|
Trail Condition |
Pressure Direction |
|
Smooth hardpack |
Add 1-3 PSI |
|
Loose or dusty trails |
Drop 1-2 PSI |
|
Wet roots or mud |
Drop 1-3 PSI for grip |
|
Rocky terrain |
Keep enough PSI for rim protection |
|
Bike park or aggressive riding |
Add support, especially rear |
|
Long XC rides |
Slightly higher for efficiency |
This is why yesterday’s perfect pressure may not be perfect today.
Tube vs Tubeless MTB Tire Pressure
Tubeless tyres changed mountain biking in a big way. Without an inner tube, you reduce the chance of pinch flats, and the sealant can close small punctures. That means many riders can run lower pressure than they would with tubes.
With inner tubes, you generally need a bit more PSI to avoid pinching the tube between the tyre and rim. With tubeless, you can often drop 2-4 PSI, depending on tyre casing and terrain.
A stronger tyre casing also helps. Lightweight XC tyres roll fast but may need more pressure for support. Reinforced trail, enduro, or downhill casings can usually handle lower pressure because the sidewalls are tougher.
Tyre inserts add another layer of protection. They let aggressive riders run lower pressure with less fear of rim damage, though they do not remove the need for proper pressure.
Benefits of Running the Right MTB Tire Pressure
When tyre pressure is right, the bike feels settled. You stop fighting it.
The first thing you notice is grip. The tyre holds corners better, brakes more predictably, and tracks across roots instead of skipping sideways.
The second thing is comfort. The tyre becomes a small layer of suspension, taking the sting out of trail chatter before it reaches your hands, feet, and back.
The third benefit is control. On rough ground, the bike feels less nervous. You can choose a line and stay with it.
The fourth is protection. Correct pressure reduces the risk of pinch flats, tyre burps, rim strikes, and casing damage.
And finally, there is efficiency. Many riders think harder tyres are always faster. On smooth roads, maybe. On real mountain bike trails, an overinflated tyre wastes energy by bouncing off obstacles. A properly inflated tyre rolls with the ground instead of fighting it.
What Tire Pressure Should I Run on a Heavy E-MTB?
A heavy e-MTB needs a little more care. The motor, battery, and stronger frame add weight, and that extra mass hits the tyres harder on descents, corners, and square-edge impacts.
For many e-MTB riders, it makes sense to start 2-4 PSI higher than a similar non-electric trail bike. The rear tyre especially needs support because it deals with rider weight, bike weight, and motor-assisted torque.
A useful starting point for a heavy e-MTB:
|
Rider Setup |
Front |
Rear |
|
Light e-MTB rider |
23-25 PSI |
25-28 PSI |
|
Average e-MTB rider |
25-28 PSI |
28-31 PSI |
|
Heavy or aggressive e-MTB rider |
28-32 PSI |
30-35 PSI |
Lower pressure can improve grip on an e-MTB, but it does not automatically improve range. If the tyre becomes too soft and starts dragging or squirming, you may actually waste energy. For range, comfort, and grip, the sweet spot matters more than simply going lower.
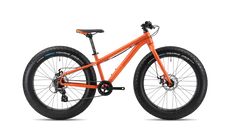
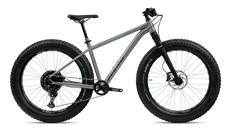
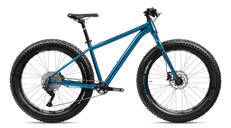
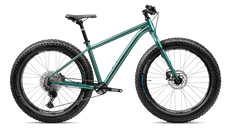
Best PSI for Fat Tire MTB Bikes
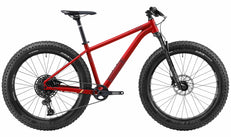
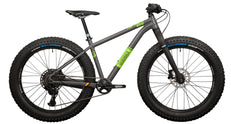
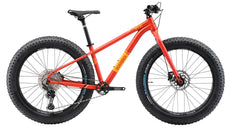
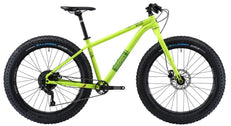
Fat bikes are a different world. Their tyres have huge air volume, so they run much lower pressure than normal mountain bikes.
For snow, sand, and soft ground, fat tyre pressures can be as low as 5-8 PSI. For firmer trails, many riders use around 8-12 PSI. Heavier riders or loaded bikes may need slightly more.
With fat tyres, small changes are very noticeable. A 2 PSI change on a fat bike can feel like a 5 PSI change on a regular MTB.
How to Check and Fine-Tune Tire Pressure
Do not rely only on squeezing the tyre with your hand. After enough years, you can get a rough feel, but a gauge is still better.
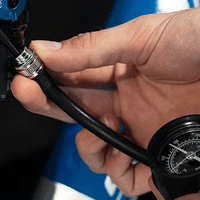
Use a floor pump with a pressure gauge or, even better, a digital tyre pressure gauge. Check before every ride, especially with tubeless tyres, because air can slowly escape between rides.
Here is the method I trust:
-
Start with a baseline PSI.
-
Ride a familiar trail.
-
Notice what the bike is doing.
-
Drop or add 1-2 PSI.
-
Ride the same section again if possible.
-
Write down the pressure when it feels right.
If the bike feels harsh and skips across the trail, drop pressure slightly. If the tyre folds in corners, burps air, or hits the rim, add pressure.
Quick MTB Tire Pressure Chart
|
Rider Weight |
XC Tubeless |
Trail Tubeless |
Enduro Tubeless |
With Inner Tubes |
|
Under 60 kg |
20 / 22 PSI |
19 / 21 PSI |
18 / 20 PSI |
Add 2-3 PSI |
|
60-75 kg |
22 / 24 PSI |
21 / 23 PSI |
20 / 22 PSI |
Add 2-3 PSI |
|
75-90 kg |
24 / 27 PSI |
23 / 26 PSI |
22 / 25 PSI |
Add 2-3 PSI |
|
90 kg+ |
27 / 30 PSI |
26 / 29 PSI |
25 / 28 PSI |
Add 2-4 PSI |
Front / rear shown. Use this as a starting point and stay within the pressure range printed on your tyre.
FAQs
Should a heavy e-MTB run more tire pressure than a regular mountain bike?
Yes, usually. A heavy e-MTB carries extra bike weight and puts more force through the rear tyre, especially when climbing or accelerating. Add a few PSI compared with a normal MTB and fine-tune from there.
Does lower tire pressure improve range on an e-MTB?
Not always. Slightly lower pressure can improve grip and control, but too low can create drag and tyre movement. For range, you want pressure that rolls well without losing traction.
Why does tyre pressure make or break your ride?
Because it affects grip, comfort, rolling speed, puncture protection, and control. A few PSI too high or too low can make the same bike feel completely different.
How often should I check my tire pressure?
Check before every proper ride. Tubeless tyres can lose air slowly, and temperature changes can alter pressure. A quick gauge check saves a lot of trail frustration.
Should front and rear pressures be the same?
Usually no. The rear tyre normally runs 2-3 PSI higher because it carries more weight and takes more impact. The front can be slightly softer for steering grip.
How do I check my tyre pressure?
Use a pump with a gauge or a digital pressure gauge. The hand squeeze test is only a rough check and is not accurate enough for proper MTB setup.
What is the best PSI for fat tire MTB bikes?
Most fat tire mountain bikes run around 5-12 PSI depending on rider weight and surface. Use lower pressure for snow or sand, and slightly higher pressure for firm trails.
Final Thoughts
After thirty years around bikes, I still believe tyre pressure is one of the first things every mountain biker should learn to tune. It costs nothing, takes two minutes, and can change the whole personality of your bike.
Do not chase one perfect number forever. Start with a sensible range, ride, listen to the trail, and adjust slowly. When the pressure is right, the bike stops feeling nervous. The tyres grip. The corners open up. The rough parts feel less punishing.
That is when mountain biking becomes what it should be: less wrestling with the bike, more flowing with the trail.