


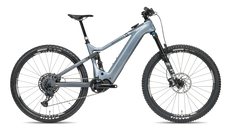
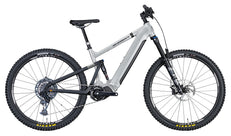
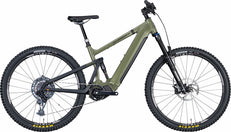
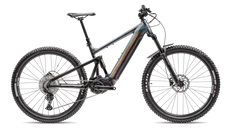
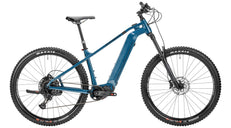
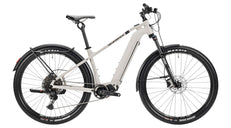
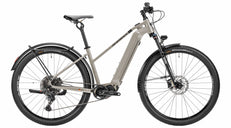
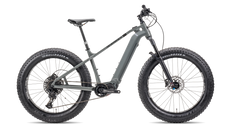
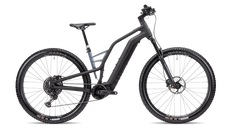
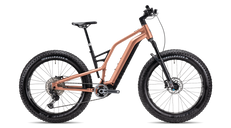
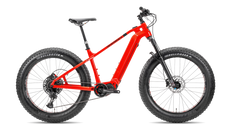
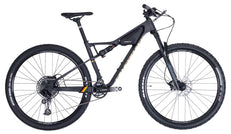
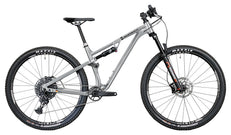
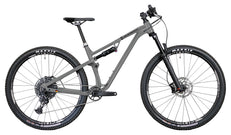
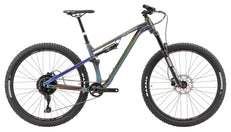
 150/145mm Travel
 29" x 2.5" Wheels
 1x12 Speed SRAM AXS
 EP-801 Shimano Motor
 85Nm Torque
 720Wh Battery
 from 20.9kg















Why Go Tubeless?
Tubeless tyres have become the standard setup for serious mountain bikers — and for good reason. By eliminating the inner tube, you can run significantly lower tyre pressures without the risk of pinch flats, which translates directly into better grip, improved comfort, and faster rolling on rough terrain. Liquid sealant inside the tyre automatically seals small punctures on the trail, often without you even noticing.
Whether you're running a Continental Cross King 29x2.30" Tubeless Ready or a Maxxis Rekon Race TR, this guide walks you through the complete conversion process from start to finish.
What You Need Before You Start
A successful tubeless conversion requires the right components. Here's what to gather before you begin:
Essential Tubeless Components
- Tubeless-ready tyres: Look for "TR", "TLR", or "Tubeless Ready" in the tyre name. The Continental Cross King 2.6" TLR and Continental Race King 27.5" TLR are excellent choices for trail and XC riding respectively.
- Tubeless-ready rims: Your rim must have a tubeless-compatible bead seat. Wheels like the Sunringle Duroc 30 PRO 29" or the Sunringle Expert 27.5" are tubeless-ready out of the box.
- Tubeless rim tape: Seals the spoke holes. The Schwalbe Tubeless Rim Tape 32mm is a reliable, easy-to-apply option rated to 12 bar.
- Tubeless valves: Replaces the standard Schrader or Presta valve hole. Included in the Speedkit Tubeless Kit, which bundles everything you need in one package.
- Tubeless sealant: 60–120ml per tyre depending on volume. Shake well before use.
- Tyre levers: The Schwalbe Tyre Levers (Set of 3) make mounting tight tubeless tyres much easier without risking rim or tyre damage.
- Floor pump or compressor: A high-volume floor pump or compressor is essential for seating the bead quickly.
Step 1: Remove the Old Tyre and Tube
Start by deflating the tyre completely and removing it from the rim using your tyre levers. Pull out the inner tube — you won't need it anymore (keep it as a trail emergency spare). Clean the rim bed thoroughly with isopropyl alcohol to remove any grease, dirt, or old tape residue. A clean surface is critical for the new rim tape to seal properly.
Checking Rim Compatibility
Before proceeding, confirm your rim is tubeless-compatible. Look for a "TLR", "UST", or "Tubeless Ready" marking on the rim sidewall. If you're unsure, check the rim manufacturer's specifications. Asymmetric or hookless rims require specific tyre compatibility — always verify before mounting.
Step 2: Apply Tubeless Rim Tape
Rim tape is the foundation of a reliable tubeless setup. It seals the spoke holes and creates an airtight channel for the tyre bead to seat against.
How to Tape Your Rim Correctly
- Start opposite the valve hole. Press the tape firmly into the centre channel of the rim bed.
- Work your way around the rim, stretching the tape slightly as you go to ensure full contact with the rim bed walls.
- Overlap the starting point by at least 5 cm.
- Run your thumb firmly along the entire length to press out any air bubbles.
- For extra security on high-pressure or aggressive riding setups, apply a second layer of tape.
- Use a sharp tool (awl or valve core tool) to pierce the tape at the valve hole — do not cut or tear it.
Use the correct tape width for your rim — it should cover the full rim bed without overlapping the bead seat. The Schwalbe 32mm Tubeless Rim Tape suits most 29" and 27.5" MTB rims with internal widths of 25–30mm.
Step 3: Install the Tubeless Valve
Insert the tubeless valve through the hole you pierced in the rim tape. Ensure the rubber base sits flat and flush against the tape — this is your primary air seal at the valve. Hand-tighten the locknut firmly but do not over-torque, as this can distort the rubber base and cause leaks. The complete Speedkit Tubeless Kit includes valves, tape, and sealant — a convenient all-in-one solution for first-time conversions.
Step 4: Mount the Tyre (Dry)
Mount one side of the tyre onto the rim first, then work the second bead on — but leave a section of the second bead off the rim (about 20–30 cm) to add sealant in the next step. Do not use lubricant at this stage. Tubeless-ready tyres are designed with a tighter bead fit than standard tyres, so this may require some effort. The Schwalbe Tyre Levers help with stubborn beads without risking damage.
Tyre Direction
Check the rotation arrow on the tyre sidewall before mounting. Most MTB tyres are directional — mounting them backwards significantly reduces braking and cornering grip. The Maxxis Rekon Race 120TPI and Continental Cross King TLR both have clear directional markings on the sidewall.
Step 5: Add Sealant and Seat the Bead
Pour 60–120ml of tubeless sealant through the open section of the tyre bead directly into the tyre. Use more sealant for larger volume tyres (2.4" and above). Once the sealant is in, push the remaining bead section onto the rim.
Seating the Bead
This is the most critical step. You need a fast burst of air to pop the bead into the rim's bead seat channel:
- Remove the valve core (use a valve core tool) to maximise airflow.
- Inflate rapidly with a floor pump or compressor until you hear two distinct "pops" — one for each bead seating.
- Reinsert the valve core and inflate to your target pressure.
- If the bead won't seat with a floor pump, a CO₂ inflator or compressor will provide the burst of air needed.
If you're struggling to seat the bead, a small amount of soapy water around the bead area helps it slide into position more easily.
Step 6: Distribute the Sealant
Once the bead is seated and the tyre is inflated, shake and rotate the wheel in all directions to coat the entire inner tyre surface with sealant. Pay particular attention to the sidewalls. Spin the wheel, bounce it, and lay it flat on both sides for 30 seconds each. This ensures the sealant covers any micro-porosity in the tyre casing and creates an airtight seal.
Tubeless Tyre Pressure Guide
One of the biggest benefits of going tubeless is the ability to run lower pressures. Here are starting points — adjust based on your weight, terrain, and feel:
| Rider Weight | Front (psi) | Rear (psi) |
|---|---|---|
| Under 70 kg | 18–22 | 20–24 |
| 70–90 kg | 20–25 | 22–27 |
| Over 90 kg | 23–28 | 25–30 |
Never go below 18 psi on trail riding — too low and you risk burping the bead off the rim on hard cornering impacts. If you need a backup tube on the trail, keep a Schwalbe Air Plus Inner Tube in your pack for emergency repairs.
Troubleshooting Common Tubeless Problems
Tyre Won't Hold Air Overnight
Normal for the first 24–48 hours as sealant cures. Top up to pressure and ride — the sealant will seal micro-porosity with use. If it continues losing air after 48 hours, check the valve base seal and rim tape for gaps.
Sealant Leaking from Sidewall
Rotate the wheel so the leak is at the bottom and let gravity and the sealant do the work. If it persists, add more sealant through the valve (remove the valve core first).
Bead Won't Seat
Ensure the tyre is centred in the rim bed before inflating. A thin bead of soapy water around both beads helps. Use a compressor or CO₂ inflator for a faster air burst if a floor pump isn't generating enough pressure.
Ready to Ride Tubeless?
Browse our full range of tubeless-ready MTB bikes and compatible tyres. If you're building up a new wheelset, the Gravel Bikes section also features tubeless-compatible options for mixed-terrain riding.
Need help with your tubeless setup?
Our team sets up tubeless on every bike we build. If you're stuck or need a hand, get in touch and we'll walk you through it.









Seien Sie der Erste, der einen Kommentar abgibt