


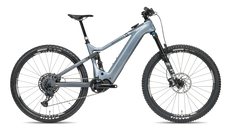
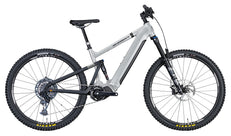
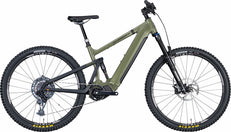
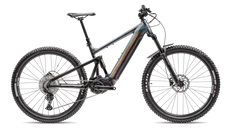
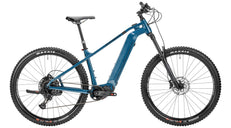
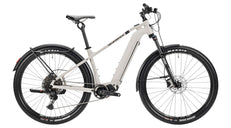
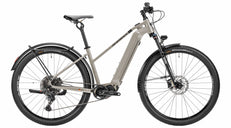
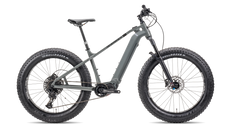
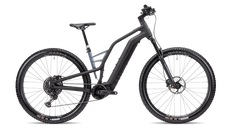
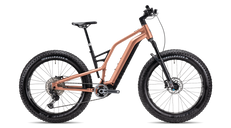
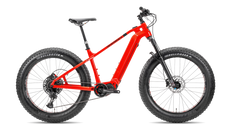
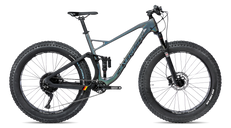
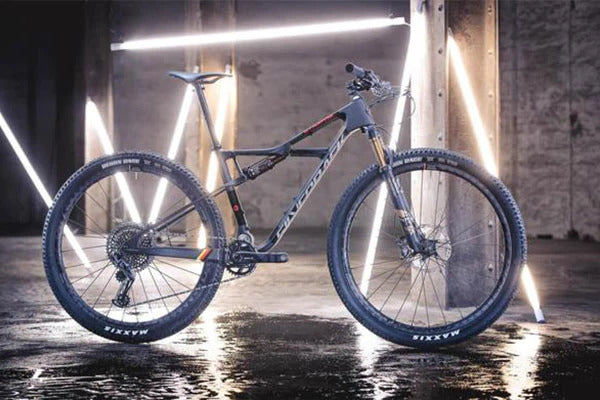
 150/145mm Travel
 29" x 2.5" Wheels
 1x12 Speed SRAM AXS
 EP-801 Shimano Motor
 85Nm Torque
 720Wh Battery
 from 20.9kg















Why Chain Maintenance Is Non-Negotiable
Your chain is the hardest-working component on your bike. It transfers every watt of power from your legs to the rear wheel, endures constant tension, and operates in some of the harshest conditions imaginable — mud, grit, rain, and dust. A neglected chain doesn’t just wear out faster; it accelerates wear on your cassette, chainring, and derailleur pulleys — turning a €20 chain replacement into a €200+ drivetrain overhaul.
Whether you’re running a Shimano CN-HG601 11-speed Chain or a SRAM NX Eagle 12-speed Chain, the maintenance principles are the same. This guide gives you the exact routine to follow.
How Often Should You Clean Your Chain?
The honest answer: more often than most riders do. Here’s a practical frequency guide based on conditions:
| Conditions | Clean & Lube | Deep Clean |
|---|---|---|
| Dry / dusty trails | Every 150–200 km | Every 500 km |
| Mixed / variable | Every 100 km | Every 300 km |
| Wet / muddy trails | After every ride | Every 150 km |
A quick rule of thumb: if you can hear your chain, it needs lube. If you can see grit on it, it needs cleaning first.
Step 1: Assess Your Chain’s Condition
Before cleaning, check whether your chain is worth saving or due for replacement. A worn chain accelerates wear on every other drivetrain component it touches — cassette, chainring, and derailleur pulleys.
How to Check Chain Wear
Use a chain wear indicator tool. Most tools measure “chain stretch” — the elongation of the chain’s pitch caused by wear on the inner plates and pins:
- 0.5% wear: Replace if running an 11- or 12-speed drivetrain to protect the cassette.
- 0.75% wear: Replace immediately on any drivetrain — cassette damage is likely already occurring.
- 1.0% wear: Chain and cassette likely need replacing together.
For 12-speed systems like the SRAM NX Eagle 12-speed, replace at 0.5% — the narrower chain tolerances mean wear accelerates cassette damage faster than older standards.
Step 2: Clean the Chain
Never lube a dirty chain — you’ll just trap abrasive grit inside the links and accelerate wear. Always clean first.
Quick Clean (After Every Wet Ride)
- Rinse the chain with water to remove loose mud.
- Apply a biodegradable degreaser to the chain while backpedalling.
- Scrub with a stiff brush, working the degreaser into the links.
- Rinse thoroughly and dry with a clean rag.
- Allow to air dry completely before lubing — or use compressed air to speed up drying.
Deep Clean (Every 300–500 km)
- Remove the chain using the quick-link (the Shimano CN-HG601 includes a quick-link for tool-free removal).
- Soak the chain in a degreaser bath for 10–15 minutes.
- Agitate by shaking the container, then scrub with a brush.
- Rinse with clean water and dry thoroughly.
- Inspect for stiff links, cracked plates, or damaged pins before reinstalling.
Step 3: Choose the Right Chain Lube
Not all lubes are equal — and using the wrong one for your conditions is almost as bad as not lubing at all. The two main categories are wet lube and dry lube.
Wet Lube
Thick, sticky formulation that resists washing off in rain and mud. Ideal for wet European trail conditions. Downside: attracts more dirt in dry conditions, requiring more frequent cleaning. Best for autumn and winter riding.
Dry Lube
Thin, wax-based formulation that dries to a near-invisible film. Repels dust and grit in dry conditions, keeping the chain cleaner for longer. Washes off quickly in rain. Best for summer and dry trail riding.
How to Apply Lube Correctly
- Apply one drop per link to the inner side of the chain (where it contacts the rollers) while backpedalling slowly.
- Complete one full chain revolution.
- Allow to penetrate for 2–5 minutes.
- Wipe off all excess lube from the outside of the chain with a clean rag — excess lube on the outside attracts dirt without providing any benefit.
Step 4: Replace the Chain at the Right Time
Replacing your chain on schedule is the single most cost-effective drivetrain maintenance habit. A new chain costs a fraction of a new cassette or chainring.
Choosing the Right Replacement Chain
Always match chain speed to your drivetrain. Using the wrong speed chain causes poor shifting, noise, and accelerated wear:
- 9-speed: Shimano CN-HG53 9-speed Chain — reliable and affordable for entry-level MTB drivetrains.
- 11-speed: Shimano CN-HG601 11-speed Chain — includes quick-link for easy removal and reinstallation.
- 12-speed: SRAM NX Eagle 12-speed Chain & Cassette Set — best value for Eagle drivetrain upgrades or replacements.
Step 5: Check the Full Drivetrain
A chain service is the perfect time to inspect the rest of your drivetrain. Worn components compound each other’s wear — catching problems early saves money.
What to Inspect
- Chainring: Look for shark-fin shaped teeth — a sign the chainring is worn and needs replacing. The Shimano XT 12-speed Chainring is a direct-fit upgrade for XT-equipped bikes.
- Cassette: Check for hooked or pointed teeth, especially on the most-used sprockets. If the chain skips under load after a new chain install, the cassette is worn and needs replacing.
- Rear derailleur: Check pulley wheel teeth for wear and ensure the derailleur hanger is straight. The Shimano XT RD-M8100 12-speed Rear Derailleur is the benchmark for smooth, precise 12-speed shifting.
- Derailleur pulleys: Worn pulley teeth cause chain noise and poor shifting. Replace when teeth become visibly pointed.
For riders running SRAM, the SRAM X01 Eagle Rear Derailleur is a top-tier upgrade that delivers class-leading shift precision and durability.
Chain Maintenance by Bike Type
Hardtail MTB
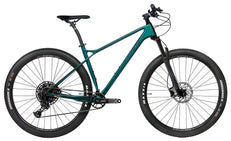
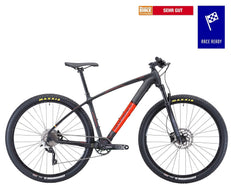
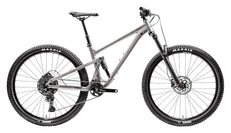
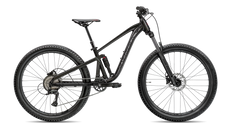
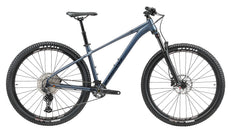
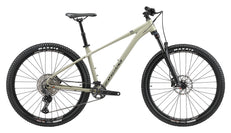
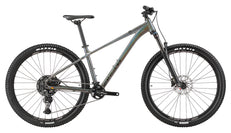
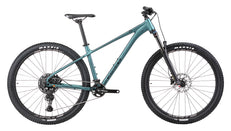
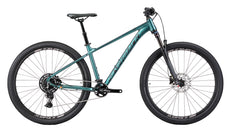
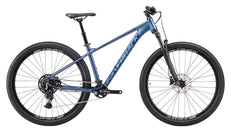
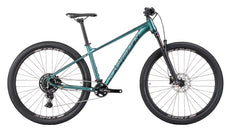
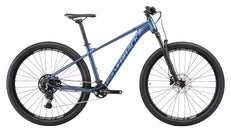
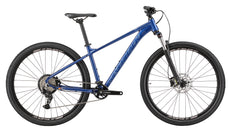
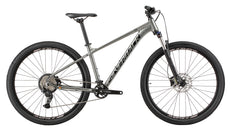
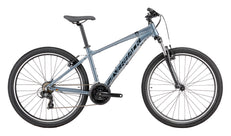
Hardtails like those in our MTB collection typically run a single chainring setup, which simplifies chain line and reduces wear. Still, the chain takes the full brunt of trail conditions — clean and lube after every muddy ride without exception.
Full-Suspension MTB
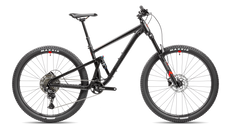
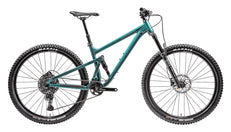
Full-suspension bikes add chain growth through the suspension travel, which puts additional stress on the chain and derailleur. This makes regular chain inspection even more important. Check the chain guide or bash guard for wear that could be causing chain damage.
E-MTB
E-bikes put significantly more torque through the drivetrain than acoustic bikes. Chains wear faster — often 30–50% quicker — due to the motor’s added power. Check chain wear every 300 km and use a chain specifically rated for e-bike use where possible. The Shimano STEPS E8000 Chainring is engineered for the higher torque loads of e-MTB drivetrains.
Build Your Perfect Drivetrain
Ready to upgrade or replace your drivetrain components? Browse our full MTB bike range or explore our Gravel Bikes — all built with quality drivetrains designed for long-term reliability.
Need a drivetrain service?
Our mechanics service what we sell. If your chain is overdue or your shifting feels off, get in touch and we’ll get your drivetrain dialled.





Seien Sie der Erste, der einen Kommentar abgibt