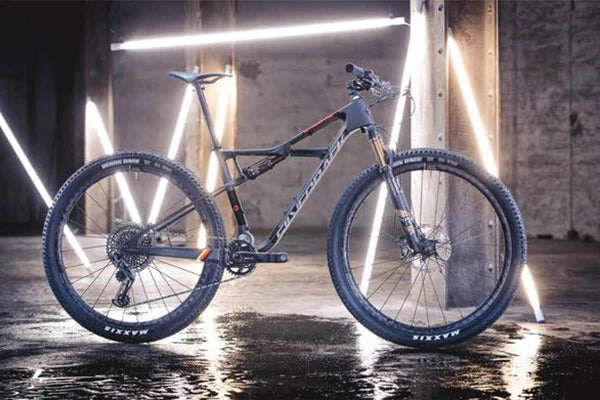
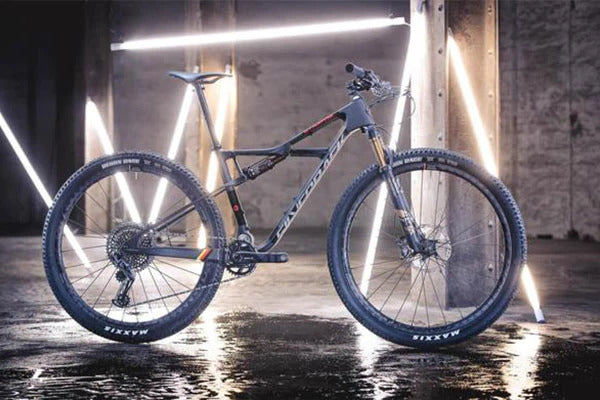
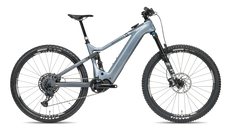
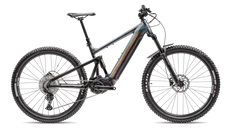
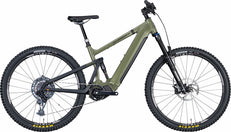
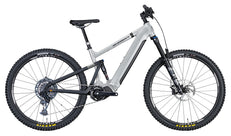
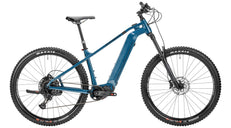
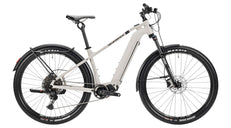
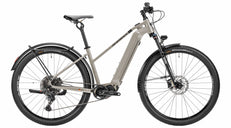
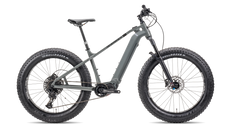
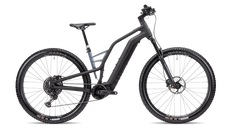
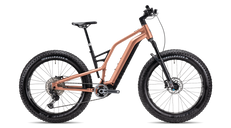
150/145mm Travel
 29" x 2.5" Wheels
 1x12 Speed SRAM AXS
 EP-801 Shimano Motor
 85Nm Torque
 720Wh Battery
 from 20.9kg
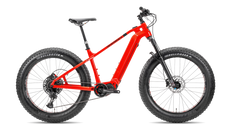

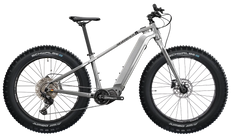

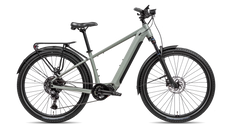
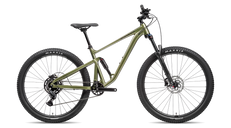
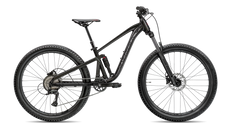
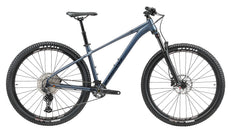
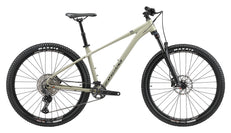





Why Suspension Setup Matters
A well-tuned suspension system is the single biggest performance upgrade you can make to your mountain bike — without spending a cent on new parts. Incorrect sag, rebound that's too fast, or compression that's too stiff can make even the best fork feel harsh and unpredictable. Get it right, and your bike will feel planted, controlled, and fast on any terrain.
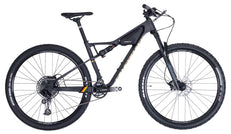
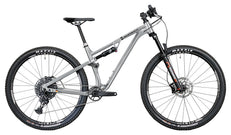
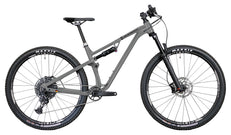
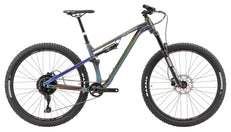
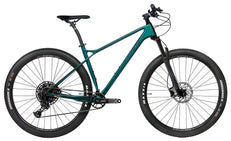
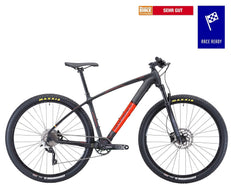
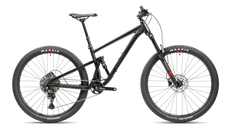
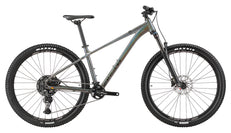
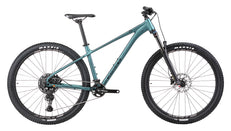
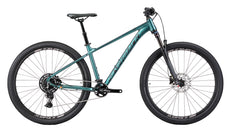
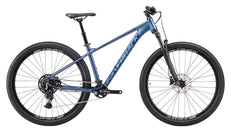
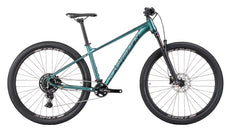
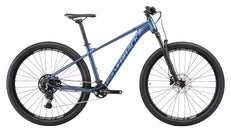
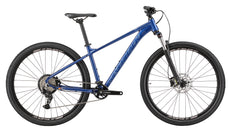
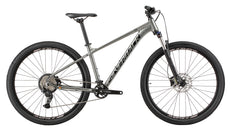
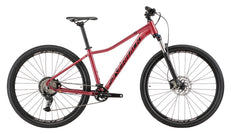
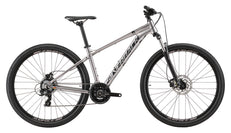
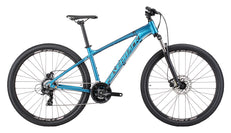
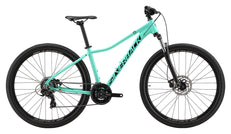
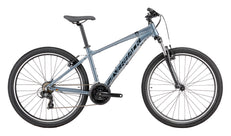
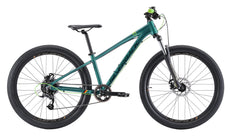
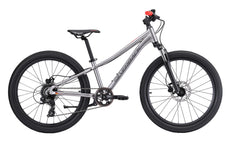
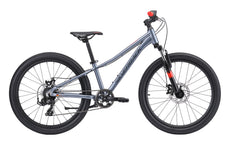
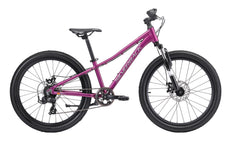
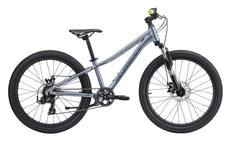
Whether you're running a hardtail like the Stride 29 HD with a quality front fork, or a full-suspension bike like the Silverback AL 2 with both fork and rear shock, this guide walks you through every adjustment step by step.
Understanding Your Suspension Components
Before diving into setup, it helps to understand what each component does and which adjustments are available to you.
Suspension Forks
The front fork absorbs impacts from the front wheel. Most quality MTB forks — like the Fox 34 Float Performance 130mm or the Fox 36 Float Performance 150mm — offer three key adjustments: air pressure (sag), rebound damping, and compression damping. Higher-end forks like the Fox 34 Step-Cast 3-Position also include a lockout or climb switch for efficiency on ascents.
Rear Shocks
Full-suspension bikes add a rear shock that works in tandem with the frame's linkage system. Popular options include the RockShox Deluxe Ultimate and the RockShox Deluxe Select+. Like forks, rear shocks are tuned via air pressure, rebound, and compression. The Fox Performance Float rear shock is a direct-fit option for Silverback AL-platform bikes.
Step 1: Set Your Sag
Sag is the amount your suspension compresses under your body weight in a neutral riding position. It's the foundation of any suspension setup — get this wrong and every other adjustment will be fighting against it.
How to Measure Sag
- Fully extend the fork or shock (bounce the bike to release any stiction).
- Slide the rubber O-ring on the stanchion or shock shaft all the way to the seal.
- Mount the bike in your normal riding position — feet on pedals, hands on bars, sitting or standing as you would on trail.
- Carefully dismount without compressing the suspension further.
- Measure the distance the O-ring has moved from the seal — this is your sag.
Recommended Sag Values
| Riding Style | Fork Sag | Rear Shock Sag |
|---|---|---|
| XC / Marathon | 15–20% | 20–25% |
| Trail | 20–25% | 25–30% |
| Enduro / DH | 25–30% | 30–35% |
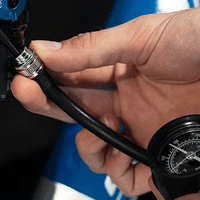
Adjust air pressure using a shock pump until you hit your target sag. Add air to reduce sag, release air to increase it.
Step 2: Set Your Rebound Damping
Rebound controls how fast your suspension returns to full extension after being compressed. Too fast and the bike bucks and feels nervous; too slow and it packs down and loses sensitivity over repeated hits.
Finding the Right Rebound Setting
Start with the rebound fully open (fastest), then click it in (slower) until the wheel returns to the ground quickly without bouncing back up. A good field test: compress the fork hard with your body weight and release — the wheel should return to the ground in one smooth motion without rebounding upward.
- Too fast: Bike feels skittish, front end washes out in corners.
- Too slow: Suspension packs down on repeated hits, bike feels harsh mid-trail.
- Just right: Wheel tracks the ground consistently, bike feels planted and controlled.
For hardtail riders on the Stride HD (Gen4), nailing front rebound is especially critical since there's no rear suspension to compensate.
Step 3: Set Your Compression Damping
Compression damping controls how fast the suspension compresses when it hits an obstacle. It's split into two ranges on most quality forks and shocks: low-speed compression (LSC) and high-speed compression (HSC).
Low-Speed Compression (LSC)
LSC affects how the suspension behaves during slow, body-weight-driven movements — cornering, braking, and pumping. More LSC gives a firmer, more supportive feel. Less LSC makes the bike more supple and active. Start with LSC in the middle of its range and adjust from there based on feel.
High-Speed Compression (HSC)
HSC controls the suspension's response to sharp, fast impacts — rock strikes, roots, and square-edged hits. Too much HSC and the bike feels harsh on rough terrain. Too little and the fork dives excessively on big hits. Most riders do well leaving HSC close to the manufacturer's baseline setting and focusing adjustments on LSC and rebound.
Step 4: Using Your Lockout or Climb Switch
Many forks and shocks include a lockout or climb switch — like the 3-position remote on the Fox 34 Rhythm with Remote — that lets you firm up the suspension for climbing or road sections. Use the SRAM OneLoc Remote Lever or the Fox 2-Position Remote to control lockout from the handlebar without reaching down.
When to use it: Engage the climb switch on long fire road climbs or smooth tarmac sections to save energy. Always disengage before technical descents or rough terrain.
Step 5: Fine-Tuning on the Trail
The best suspension setup is one dialled in on your actual trails, not just in the car park. After your initial setup, take a familiar loop and pay attention to these signals:
Signs Your Suspension Needs Adjustment
- Bottoming out frequently: Add air pressure (increase sag slightly) or add low-speed compression.
- Feeling every small bump harshly: Reduce air pressure or open up compression damping.
- Front end diving under braking: Add low-speed compression to the fork.
- Rear end feels bouncy: Slow down rebound on the rear shock.
- Bike feels sluggish and unresponsive: Speed up rebound or reduce compression.
Make one change at a time and test it over the same section of trail before adjusting further. Small increments — 2–3 clicks at a time — make a big difference.
Suspension Maintenance: Keep It Performing
Even a perfectly set-up suspension degrades without regular maintenance. Lower leg services (fork oil and seal replacement) should be done every 50–100 hours of riding, and full rebuilds every 200 hours. Keep an eye on your Fox Polymer Bushing Set — worn bushings cause play in the linkage and kill suspension feel. For rear shock pivot maintenance, replace RockShox shock bushings at the first sign of play.
Which Silverback Bike Is Right for Your Suspension Needs?
If you're looking to upgrade your ride, our full MTB range covers everything from efficient XC hardtails to capable full-suspension trail bikes. The Stride SE (Gen 4) is a great entry point for riders wanting a quality fork without the complexity of a rear shock, while the Splash 275 MD offers full-suspension capability for more demanding trail riding.
Need help setting up your suspension?
Our team rides and wrenches on the bikes we sell. If you're unsure about your setup or need a service, get in touch and we'll point you in the right direction.