


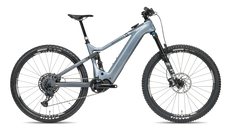
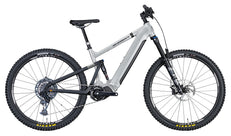
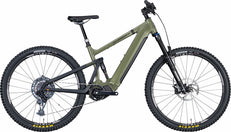
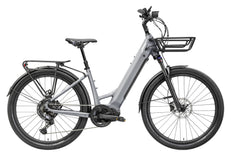
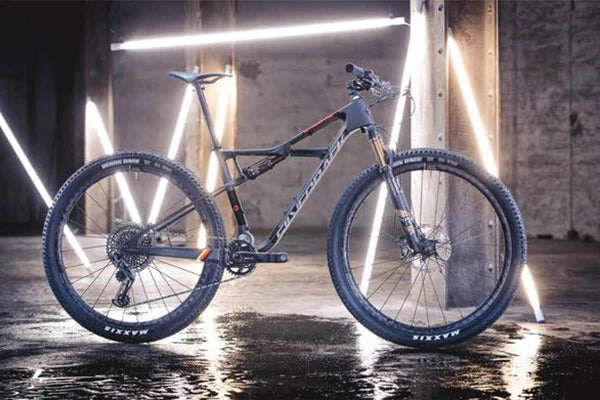
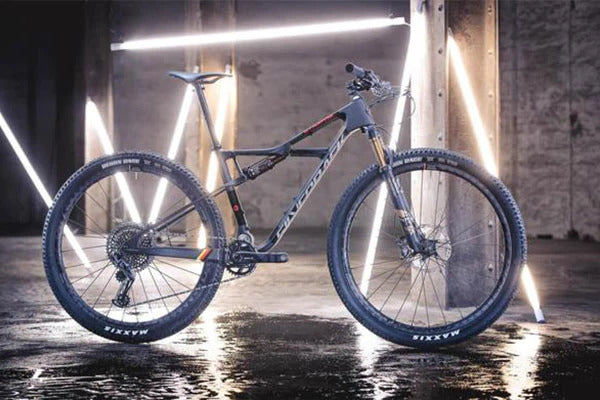
 150/145mm Travel
 29" x 2.5" Wheels
 1x12 Speed SRAM AXS
 EP-801 Shimano Motor
 85Nm Torque
 720Wh Battery
 from 20.9kg
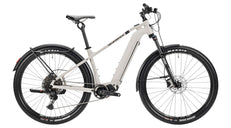
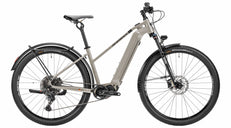
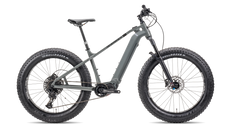
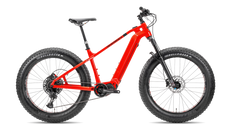


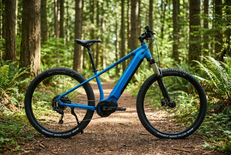
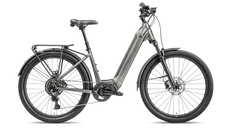
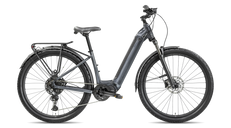
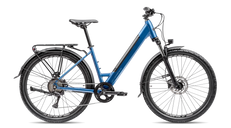
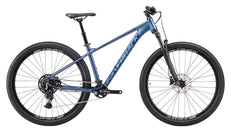
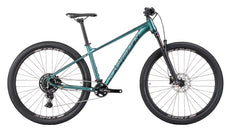
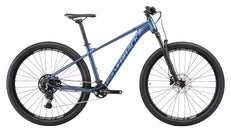

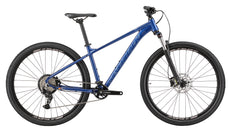
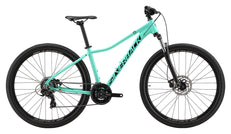
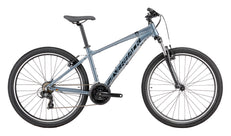
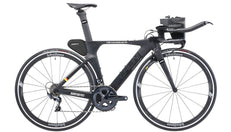
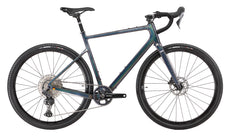
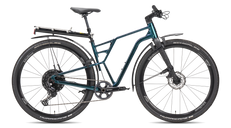
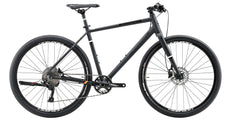
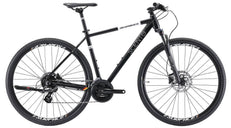
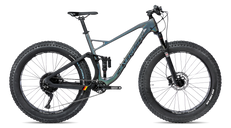
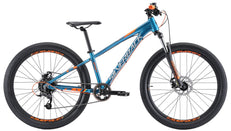
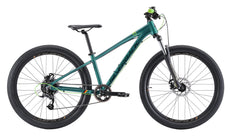
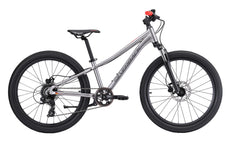
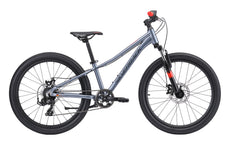





Pre-Ride Bike Check: The 5-Minute Safety Inspection for Every Ride
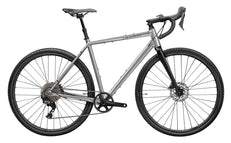
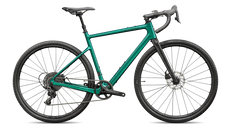
Five minutes can make all the difference — between a smooth ride and a breakdown in the middle of nowhere, between a small issue and an expensive repair. The pre-ride bike check is one of the simplest and most effective habits you can develop as a rider. It applies to all bike types — from the SilverRider Gravel PRO to the S-Electro e-bike range.
In this guide, we show you how to check the most important points on your bike in exactly 5 minutes — systematically, quickly, and reliably. Combine this check with our 10 Tips to Save on Bike Repairs for maximum longevity.
Why Check Before Every Ride?
Bikes are mechanical systems that change through vibration, load, and weather. Bolts loosen, brake pads wear, tyres lose pressure. What was fine yesterday can be a problem today. A quick check costs you 5 minutes — and can save you hours of roadside repairs, hundreds of euros in damage, and in the worst case, an accident.
Step 1: Check Your Tyres (1 Minute)
Tyre Pressure
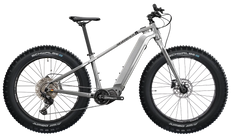
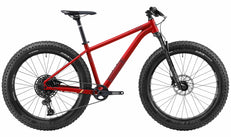
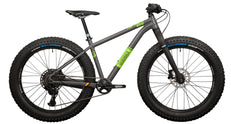
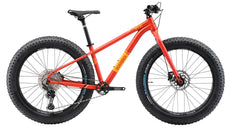
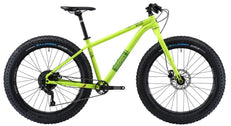
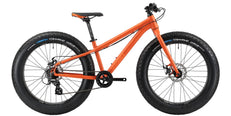
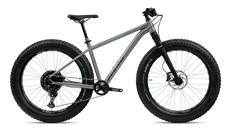
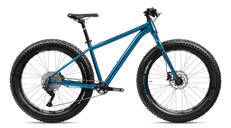
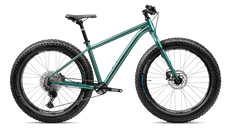
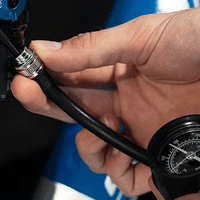
Press your thumb firmly on the tyre — it should feel firm and barely give. For an accurate reading, use a pressure gauge. The recommended pressure is printed on the tyre sidewall. For fat bikes from Silverback’s e-bike range, pressures are much lower than road bikes — typically 0.5–1.5 bar depending on terrain.
Tyre Condition
Quickly inspect the tread: any cuts, cracks, or embedded debris? A small stone in the tyre can cause a puncture. Also check the sidewalls for cracks or bulges.
Step 2: Check Your Brakes (1 Minute)
Lever Travel
Pull each brake lever individually. It should stop well before reaching the handlebar — if it goes all the way to the bar, the brakes need immediate adjustment or the pads need replacing. Never ride with insufficient braking power.
Brake Pads
Quickly inspect the brake pads. If the material is thin or worn to the wear indicator, replace them immediately. More on the most common brake mistakes in our guide: 7 Bike Maintenance Mistakes to Avoid.
Step 3: Check Your Drivetrain (1 Minute)
Chain
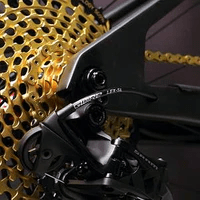
Lift the rear wheel and turn the cranks — the chain should run smoothly without skipping or sticking. Is it dry or dirty? Lubricate before riding. A well-maintained chain is the cheapest insurance against expensive drivetrain damage.
Shifting
Quickly run through all gears. Shifting should be clean and immediate. If it hesitates or skips, an adjustment is needed — often just a turn of the barrel adjuster.
Step 4: Check Bolts and Connections (1 Minute)
Handlebar and Stem
Hold the front wheel between your knees and try to twist the handlebar. It should not move. Also check that the stem is tight — a loose stem is extremely dangerous. Especially important for the precise cockpit setups of the SilverRider Gravel SPORT.
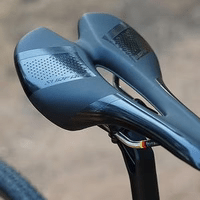
Saddle and Seat Clamp
Try to move the saddle sideways and tilt it forward/backward. It should be solid. A loose seat clamp can give way suddenly — with unpleasant consequences.
Quick Releases and Thru-Axles
Check that front and rear wheels are secure. Quick releases should offer firm resistance when closing. Thru-axles should be tightened and correctly seated.
Step 5: E-Bike Specific Check (1 Minute, E-Bikes Only)
Battery Level
Check the battery level before every ride. For longer routes, charge beforehand. Full details on optimal battery care and range planning in our E-Bike Battery Guide.
Display and Motor Connection
Switch on the e-bike and check that the display starts correctly and all assist levels are available. Error messages should be resolved before riding. This applies to all models in the S-Electro range.
Battery Lock
Check that the battery is correctly seated and locked. A loose battery can fall out while riding and sustain expensive damage.
The Complete 5-Minute Checklist at a Glance
- ✅ Minute 1 — Tyres: Check pressure, inspect tread for damage
- ✅ Minute 2 — Brakes: Check lever travel, inspect brake pads
- ✅ Minute 3 — Drivetrain: Check and lubricate chain, test shifting
- ✅ Minute 4 — Bolts: Check handlebar, saddle, quick releases/thru-axles
- ✅ Minute 5 — E-Bike: Check battery level, display, battery lock
When Is the 5-Minute Check Not Enough?
The 5-minute check is designed for everyday use. After intense off-road rides, crashes, or extended storage, we recommend a more thorough inspection. And once a year, the bike should go in for a professional service. Combine the daily check with the tips from our guide 7 Bike Maintenance Mistakes to Avoid for a complete maintenance strategy.
Frequently Asked Questions
Do I really need to check before every ride?
Yes — especially tyre pressure and brakes. Tyres lose pressure daily, and brake pads wear with every ride. A quick check takes less than 5 minutes and can prevent a puncture or accident.
What do I do if I find a problem during the check?
Small issues like low tyre pressure or a dry chain you can fix immediately yourself. For more serious problems — severely worn brake pads, a loose wheel, an e-bike error message — do not ride and seek a professional workshop.
Do I need tools for the check?
For the basic check, your hands and eyes are enough. A pressure gauge for tyre pressure is recommended. For on the road: a mini multi-tool, tyre levers, and a spare tube or tubeless sealant belong in every pack.
Does the check apply to fat bikes too?
Yes — with one key difference: fat bikes run very low tyre pressure (0.5–1.5 bar). The tyre will always feel softer than other bikes. Always use a pressure gauge rather than the thumb test.
How long does the check take for an e-bike?
With the e-bike specific step, the check takes around 6–7 minutes. The extra minute for battery and display is well spent — a flat battery mid-ride is more frustrating than any puncture.
Conclusion
The 5-minute pre-ride check is the simplest habit you can develop for your bike. It costs little time, gives you confidence, and protects you from expensive surprises — whether you commute on the SilverRider Gravel PATH, race gravel events on the SilverRider Gravel PRO, or explore the mountains on a model from the S-Electro range.
Complete your maintenance strategy with our other guides: 10 Tips to Save on Bike Repairs and The 7 Most Common Bike Maintenance Mistakes.







Seien Sie der Erste, der einen Kommentar abgibt