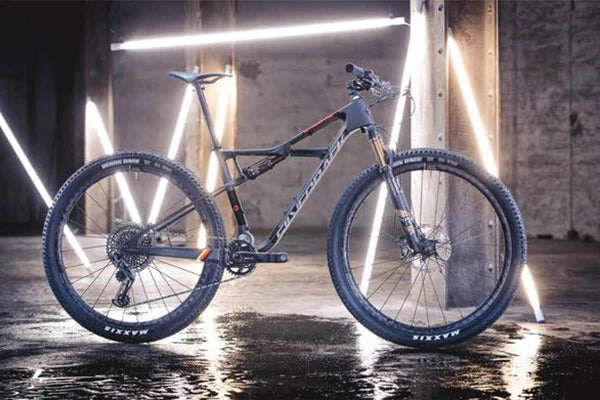
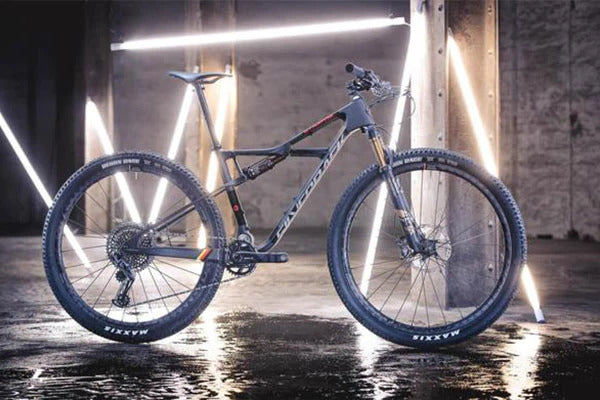
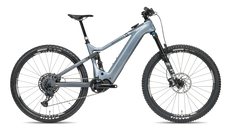
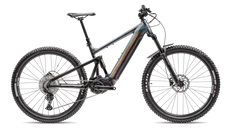
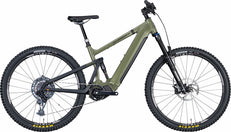
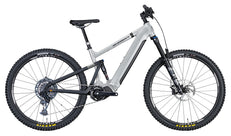
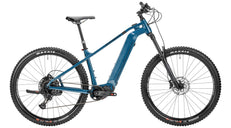
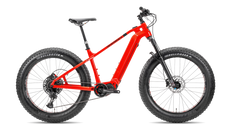
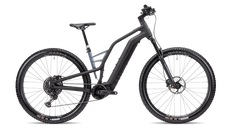
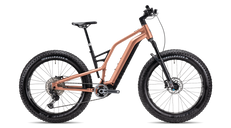
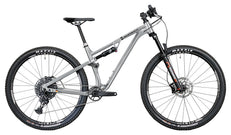
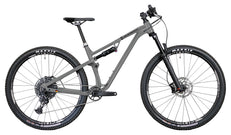
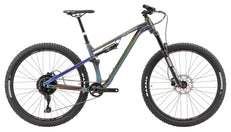
150/145mm Travel
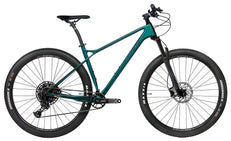
 29" x 2.5" Wheels
 1x12 Speed SRAM AXS
 EP-801 Shimano Motor
 85Nm Torque
 720Wh Battery
 from 20.9kg


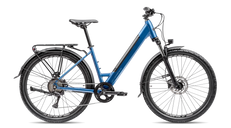
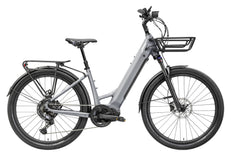
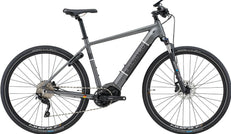
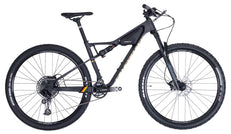
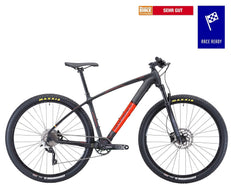
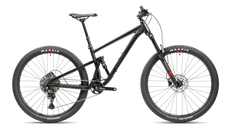
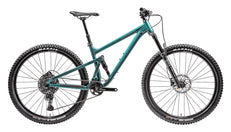
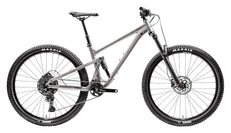
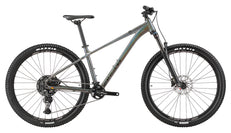
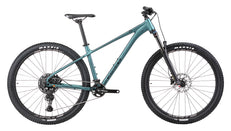
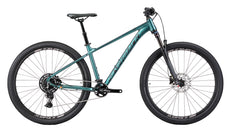
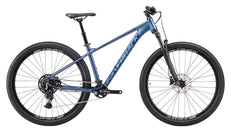

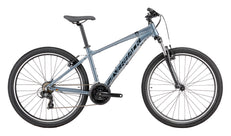
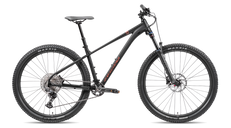
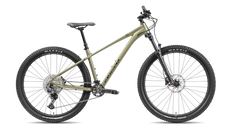
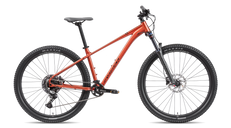
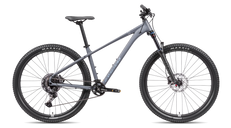
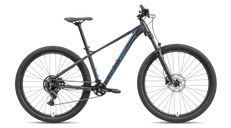
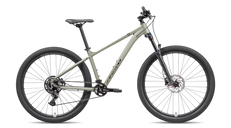
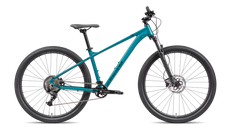
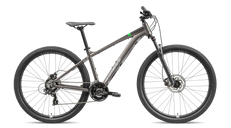
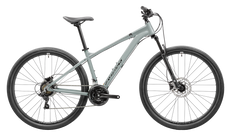
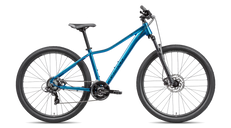
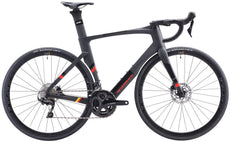
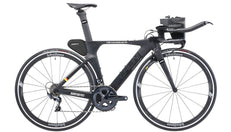
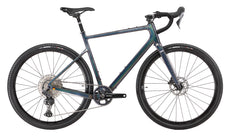
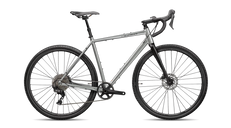
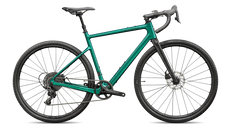
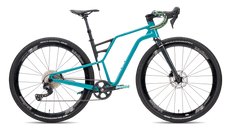
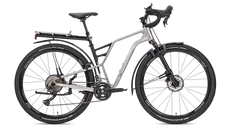
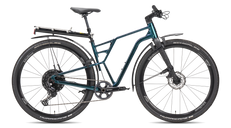
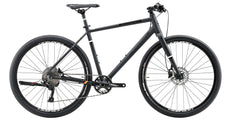
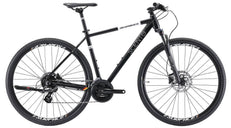
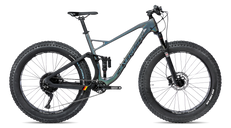
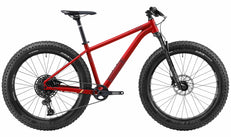



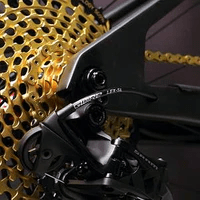
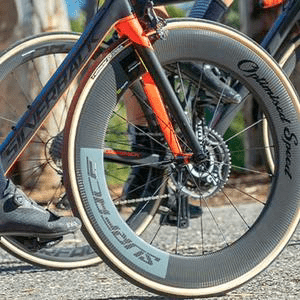


A well-maintained bicycle not only rides better – it also lasts longer, is safer, and saves you expensive repairs in the long run. Whether it's a road bike, gravel bike, MTB, or city bike: regular maintenance is part of cycling. In this guide, we will show you step-by-step how to properly maintain your bike – from cleaning to chain care.
Why regular bicycle maintenance is so important
Many riders underestimate how quickly dirt, moisture, and wear affect a bicycle's components. A dirty chain wears out sprockets and chainrings up to three times faster than a clean, oiled chain. Brake pads lose effectiveness when dirty. Bearings become porous due to penetrating water. In short: those who look after their bike save money and ride more safely.
What you need: The right equipment
Before you get started, you should have the right maintenance supplies at hand. We recommend:
- Bike cleaner – biodegradable and material-friendly
- Chain oil – wet or dry lube, depending on the weather
- Protectant / Polish – for paint and metal parts
- Brushes and sponges – various sizes for frame, chain, and sprockets
- Microfiber cloths – for drying without scratches
- Torque wrench – essential for carbon components
The Muc-Off Ultimate Bicycle Kit contains everything you need for professional bike care – in a practical toolbox. For a quick start, the Muc-Off Clean, Protect & Lube Kit is perfect.
Step 1: Clean the bike thoroughly
Always start with cleaning – because wear and damage are much easier to identify on a clean bike.
- Mount the bike – A repair stand makes the work considerably easier
- Rinse off coarse dirt – With a gentle stream of water (no pressure washer!), as this can force water into bearings and the bottom bracket
- Apply cleaner – Spray bike cleaner onto the frame, fork, wheels, and drivetrain and let it soak in briefly
- Brush – Clean the chain, sprockets, and chainring with a chain brush; clean the frame and wheels with a soft sponge
- Rinse and dry – Rinse thoroughly and wipe dry with a microfiber cloth
Step 2: Clean and oil the chain
The chain is the heart of your drivetrain – and the most frequently neglected component. Here is how to maintain it properly:
- Degrease the chain – Clean thoroughly with a chain cleaner or degreaser
- Let it dry – At least 10 minutes before you oil it
- Apply chain oil – Apply it to each link individually while rotating the chain backwards
- Wipe off excess – Use a cloth to wipe the outside of the chain so that no excess oil attracts dirt
Tip: Use wet lube in wet and muddy conditions (autumn/winter). For dry conditions, dry lube is sufficient – it attracts less dust.
Step 3: Check and adjust brakes
Functioning brakes are a matter of safety. Check the following regularly:
- Brake pads: There should be at least 1–2 mm of remaining thickness
- Brake discs: Check for warping and scoring – a bent disc must be replaced
- Brake cables: Check for cracks, kinks, or corrosion
- Brake levers: The pressure point should be clearly defined and not too close to the handlebar
Step 4: Check the gears
Precise shifting makes riding more efficient and protects the drivetrain. Pay attention to:
- Shift cables: Check for wear and smooth operation
- Rear derailleur: Must be aligned parallel to the cassette
- Indexing: Each gear should engage cleanly and without grinding
- Sprockets and chainrings: If you see "shark teeth" (pointed, asymmetrical teeth), it is time for a replacement
Step 5: Tire pressure and wheels
The correct tire pressure improves rolling resistance, grip, and puncture protection simultaneously. As a rule of thumb:
- Road bike: 6–8 bar
- Gravel bike: 2.5–4 bar (depending on tire width)
- MTB: 1.5–2.5 bar (tubeless often even less)
- City bike: 3–5 bar
Also check the spoke tension – loose spokes lead to wheel wobble and, in the worst case, can lead to wheel failure.
Step 6: Check bolts and bearings
Go through the bike systematically and check all bolted connections for tightness – especially the seat clamp, stem, handlebars, and pedals. Always use a torque wrench if carbon parts are installed. Also check the headset, bottom bracket, and hubs for play or roughness.
Maintenance intervals at a glance
- After every ride in the rain: Dry the chain and re-oil
- Every 2–4 weeks: Basic cleaning, oil the chain, check brakes and tire pressure
- Every 3 months: Adjust gears, check bearings, tighten bolts
- Once a year: Major inspection at a specialist dealer – have the chain, sprockets, and brake pads measured
Conclusion: Maintenance pays off
Those who maintain their bike regularly not only ride more safely and comfortably – they also save actual money. A new chain costs a fraction of a new cassette set. With the right maintenance material, servicing is done quickly and even becomes fun over time.
Start now with the Muc-Off Clean, Protect & Lube Kit – everything you need to get started in one set. Or go straight for the Muc-Off Ultimate Bicycle Kit for the complete professional equipment.